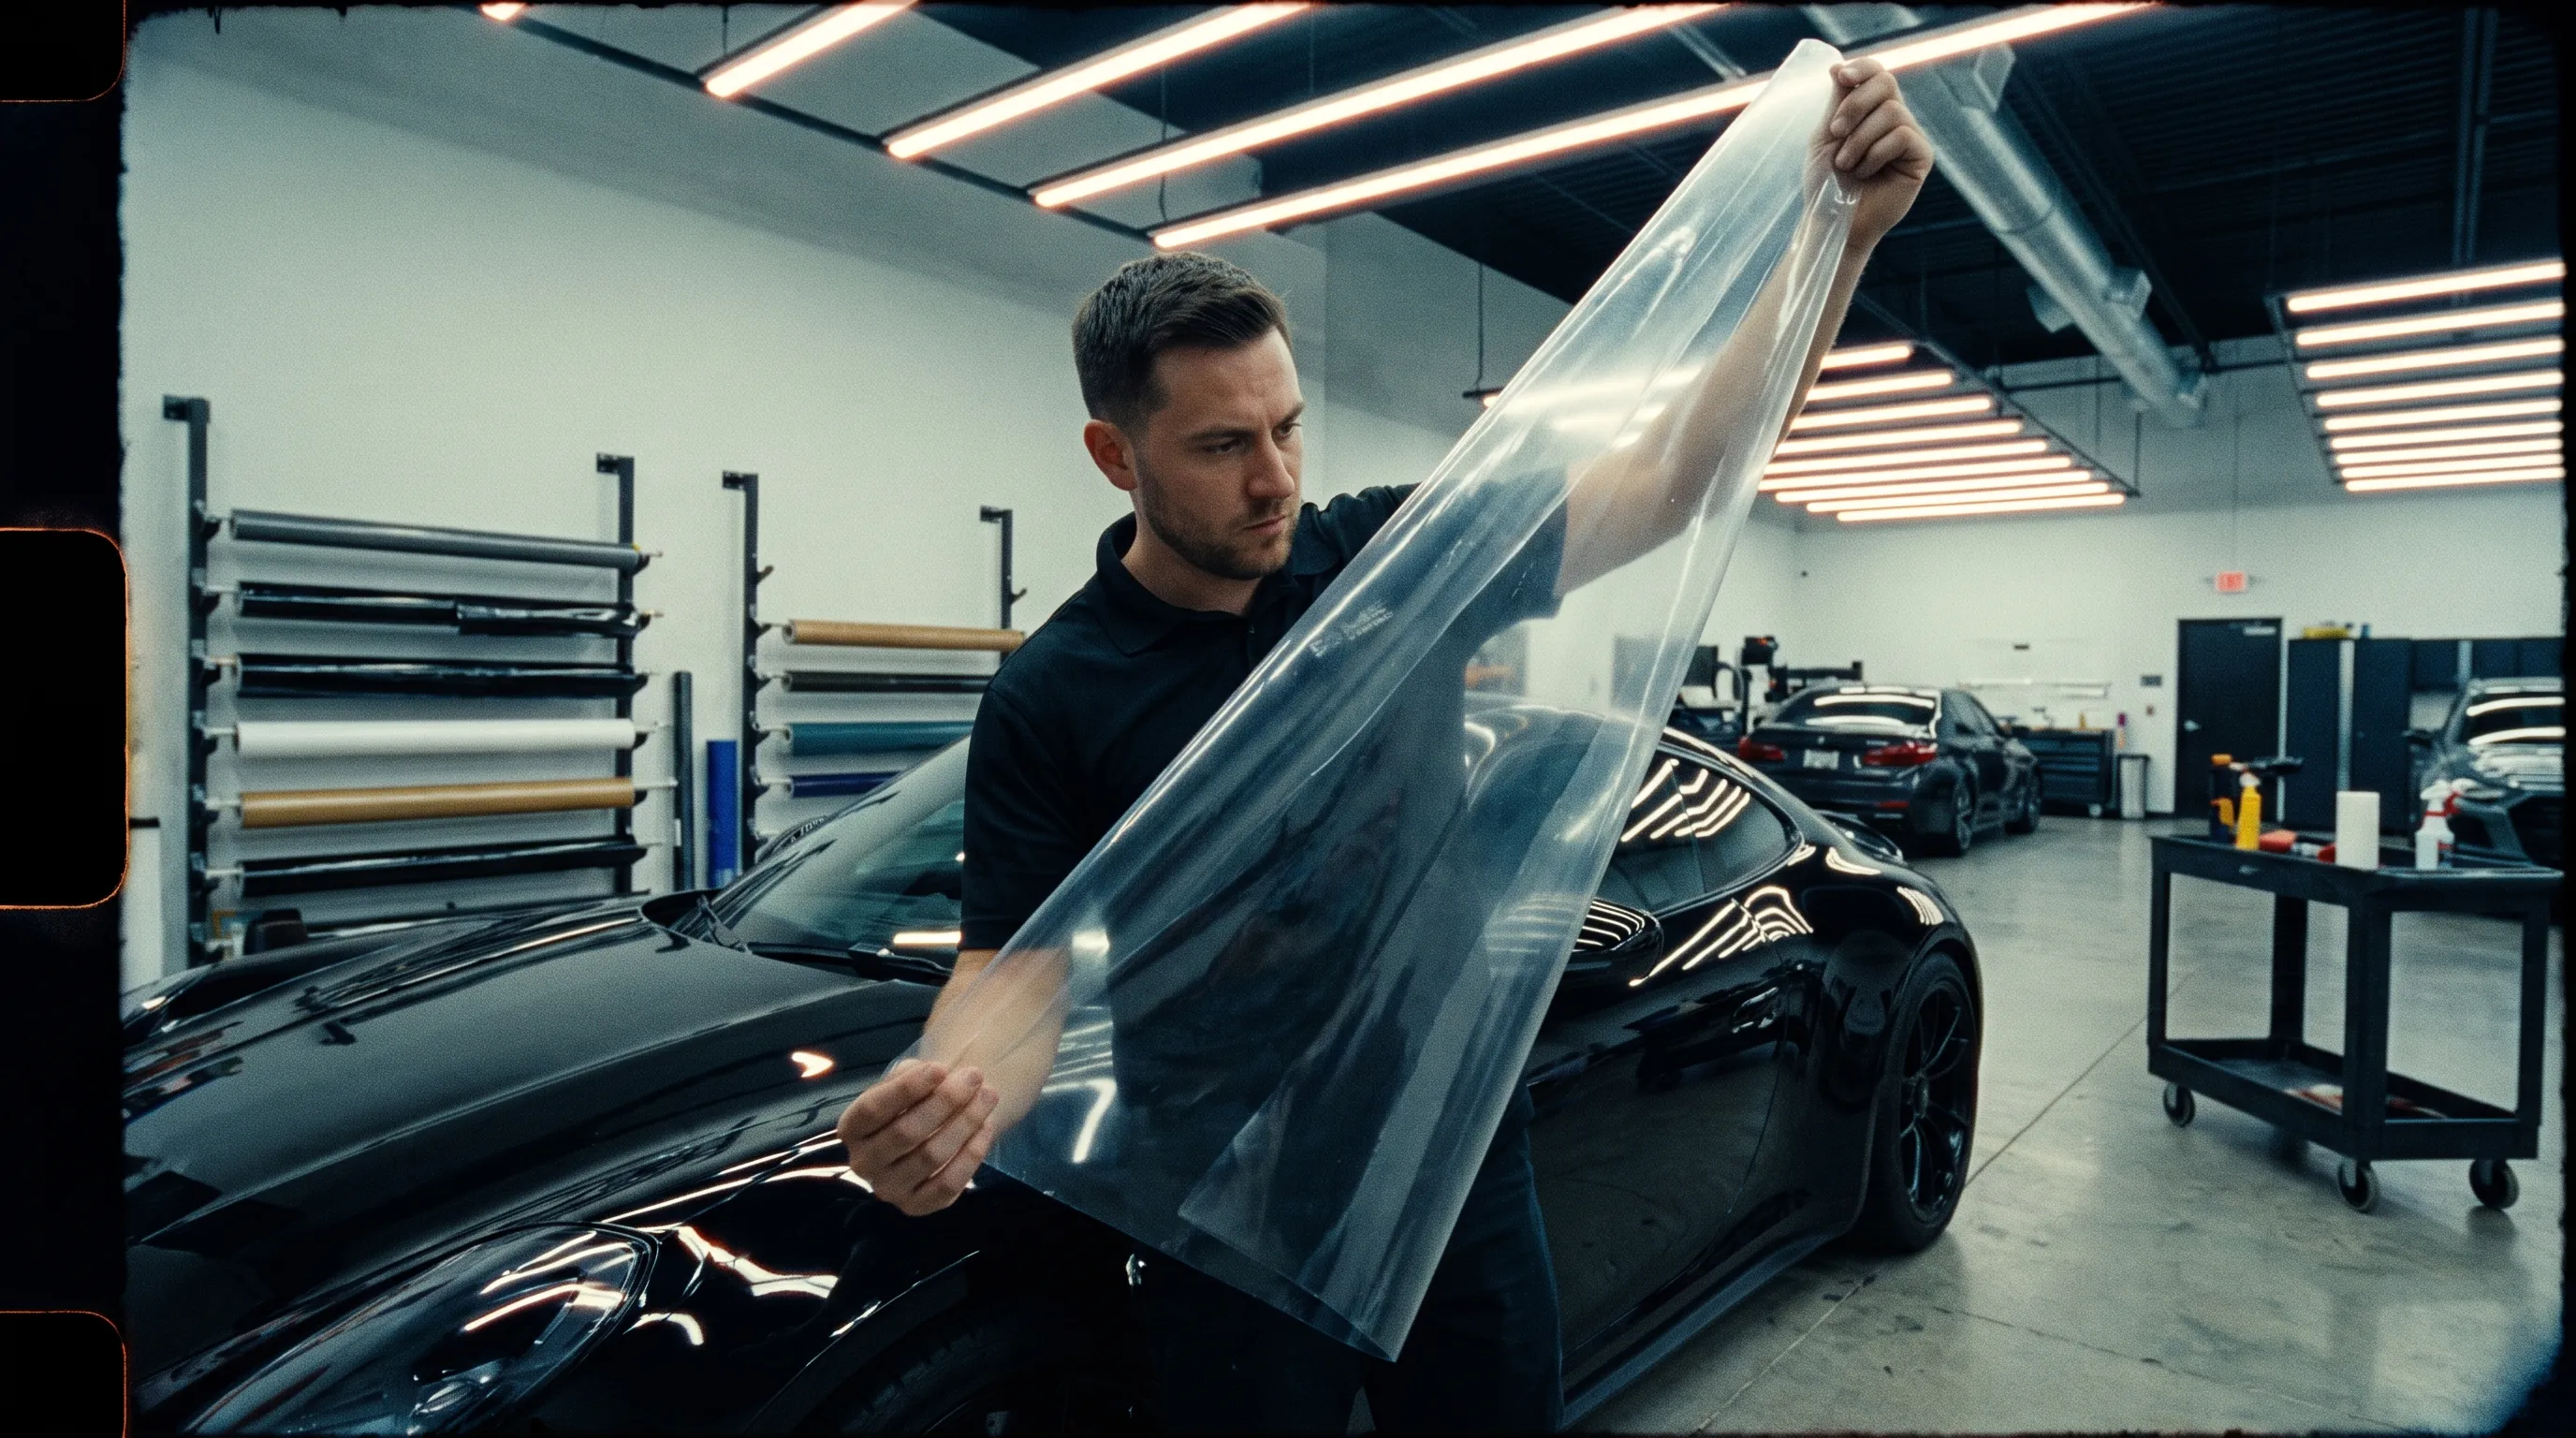
How to test PPF quality cannot be answered with a key scratch, heat-gun demonstration, or freshly installed hood. Installers need three levels of evidence: technical data, controlled shop testing, and long-term performance on real vehicles.
A sample can look clear and heal quickly on day one while still developing edge lift, adhesive distortion, staining, haze, or yellowing later. Test the complete laminate and the complete installation process before committing your reputation to a roll.
Why a Fresh PPF Sample Proves Almost Nothing
New PPF is tested under its easiest conditions. The polymer is fresh, the surface is clean, the adhesive has not experienced thermal cycling, and the film has not spent months under UV radiation, road chemicals, detergents, or winter salt.
Most weak products can produce an acceptable flat-panel demonstration. The differences become clearer after the film is stretched over a bumper, repositioned several times, wrapped around an edge, contaminated, heated, cooled, and left outdoors.
Do not judge PPF from one dramatic test. A wire brush may demonstrate surface recovery but says little about optical clarity, final adhesion, stain resistance, edge stability, or clean removal.
The correct test sequence moves from controlled evidence to real service:
- Verify the construction and laboratory data.
- Install the film under controlled shop conditions.
- Track the material on real vehicles over time.
Step 1: Verify the Material and Test Data
Begin with the technical data sheet. If the supplier cannot clearly identify the carrier film, top coat, adhesive, total thickness, and test methods, do not allow a low roll price to close the information gap.
Premium clear PPF should use color-stable aliphatic TPU rather than unidentified polyurethane. “TPU” alone is incomplete because aromatic and aliphatic polyurethane do not provide the same resistance to UV-driven discoloration.
Ask the supplier to separate the face-film thickness from the adhesive thickness. A published 7.5 mil figure may represent the complete installed laminate rather than 7.5 mil of structural TPU.
The basic documentation should include:
- Aliphatic TPU identification and resin platform
- Top-coat and pressure-sensitive adhesive construction
- Face-film, adhesive, and total installed thickness
- Tensile strength and elongation at break
- Peel adhesion with test angle, dwell time, and substrate
- Gloss, haze, and optical transmission data
- Accelerated UV and weathering results
- Measured color change or yellowness index
- Stain, chemical, hydrolysis, and thermal-cycle testing
- Batch traceability and manufacturing date
A named standard is useful only when the test conditions and results are included. ASTM D3330, for example, can compare pressure-sensitive adhesive peel behavior under controlled conditions, but one peel number does not predict repositionability, edge stability, or removal from every automotive paint system.
Xenon-arc exposure can reproduce controlled combinations of light, moisture, and heat. The report should state the irradiance, temperature, filter, water cycle, exposure duration, substrate, and measured change in color, gloss, and haze.
Reject unsupported conversions such as “1,000 laboratory hours equals ten road years.” Accelerated testing is strongest for ranking materials under identical conditions. Actual service life still changes with climate, vehicle color, parking, mileage, maintenance, and installation strain.
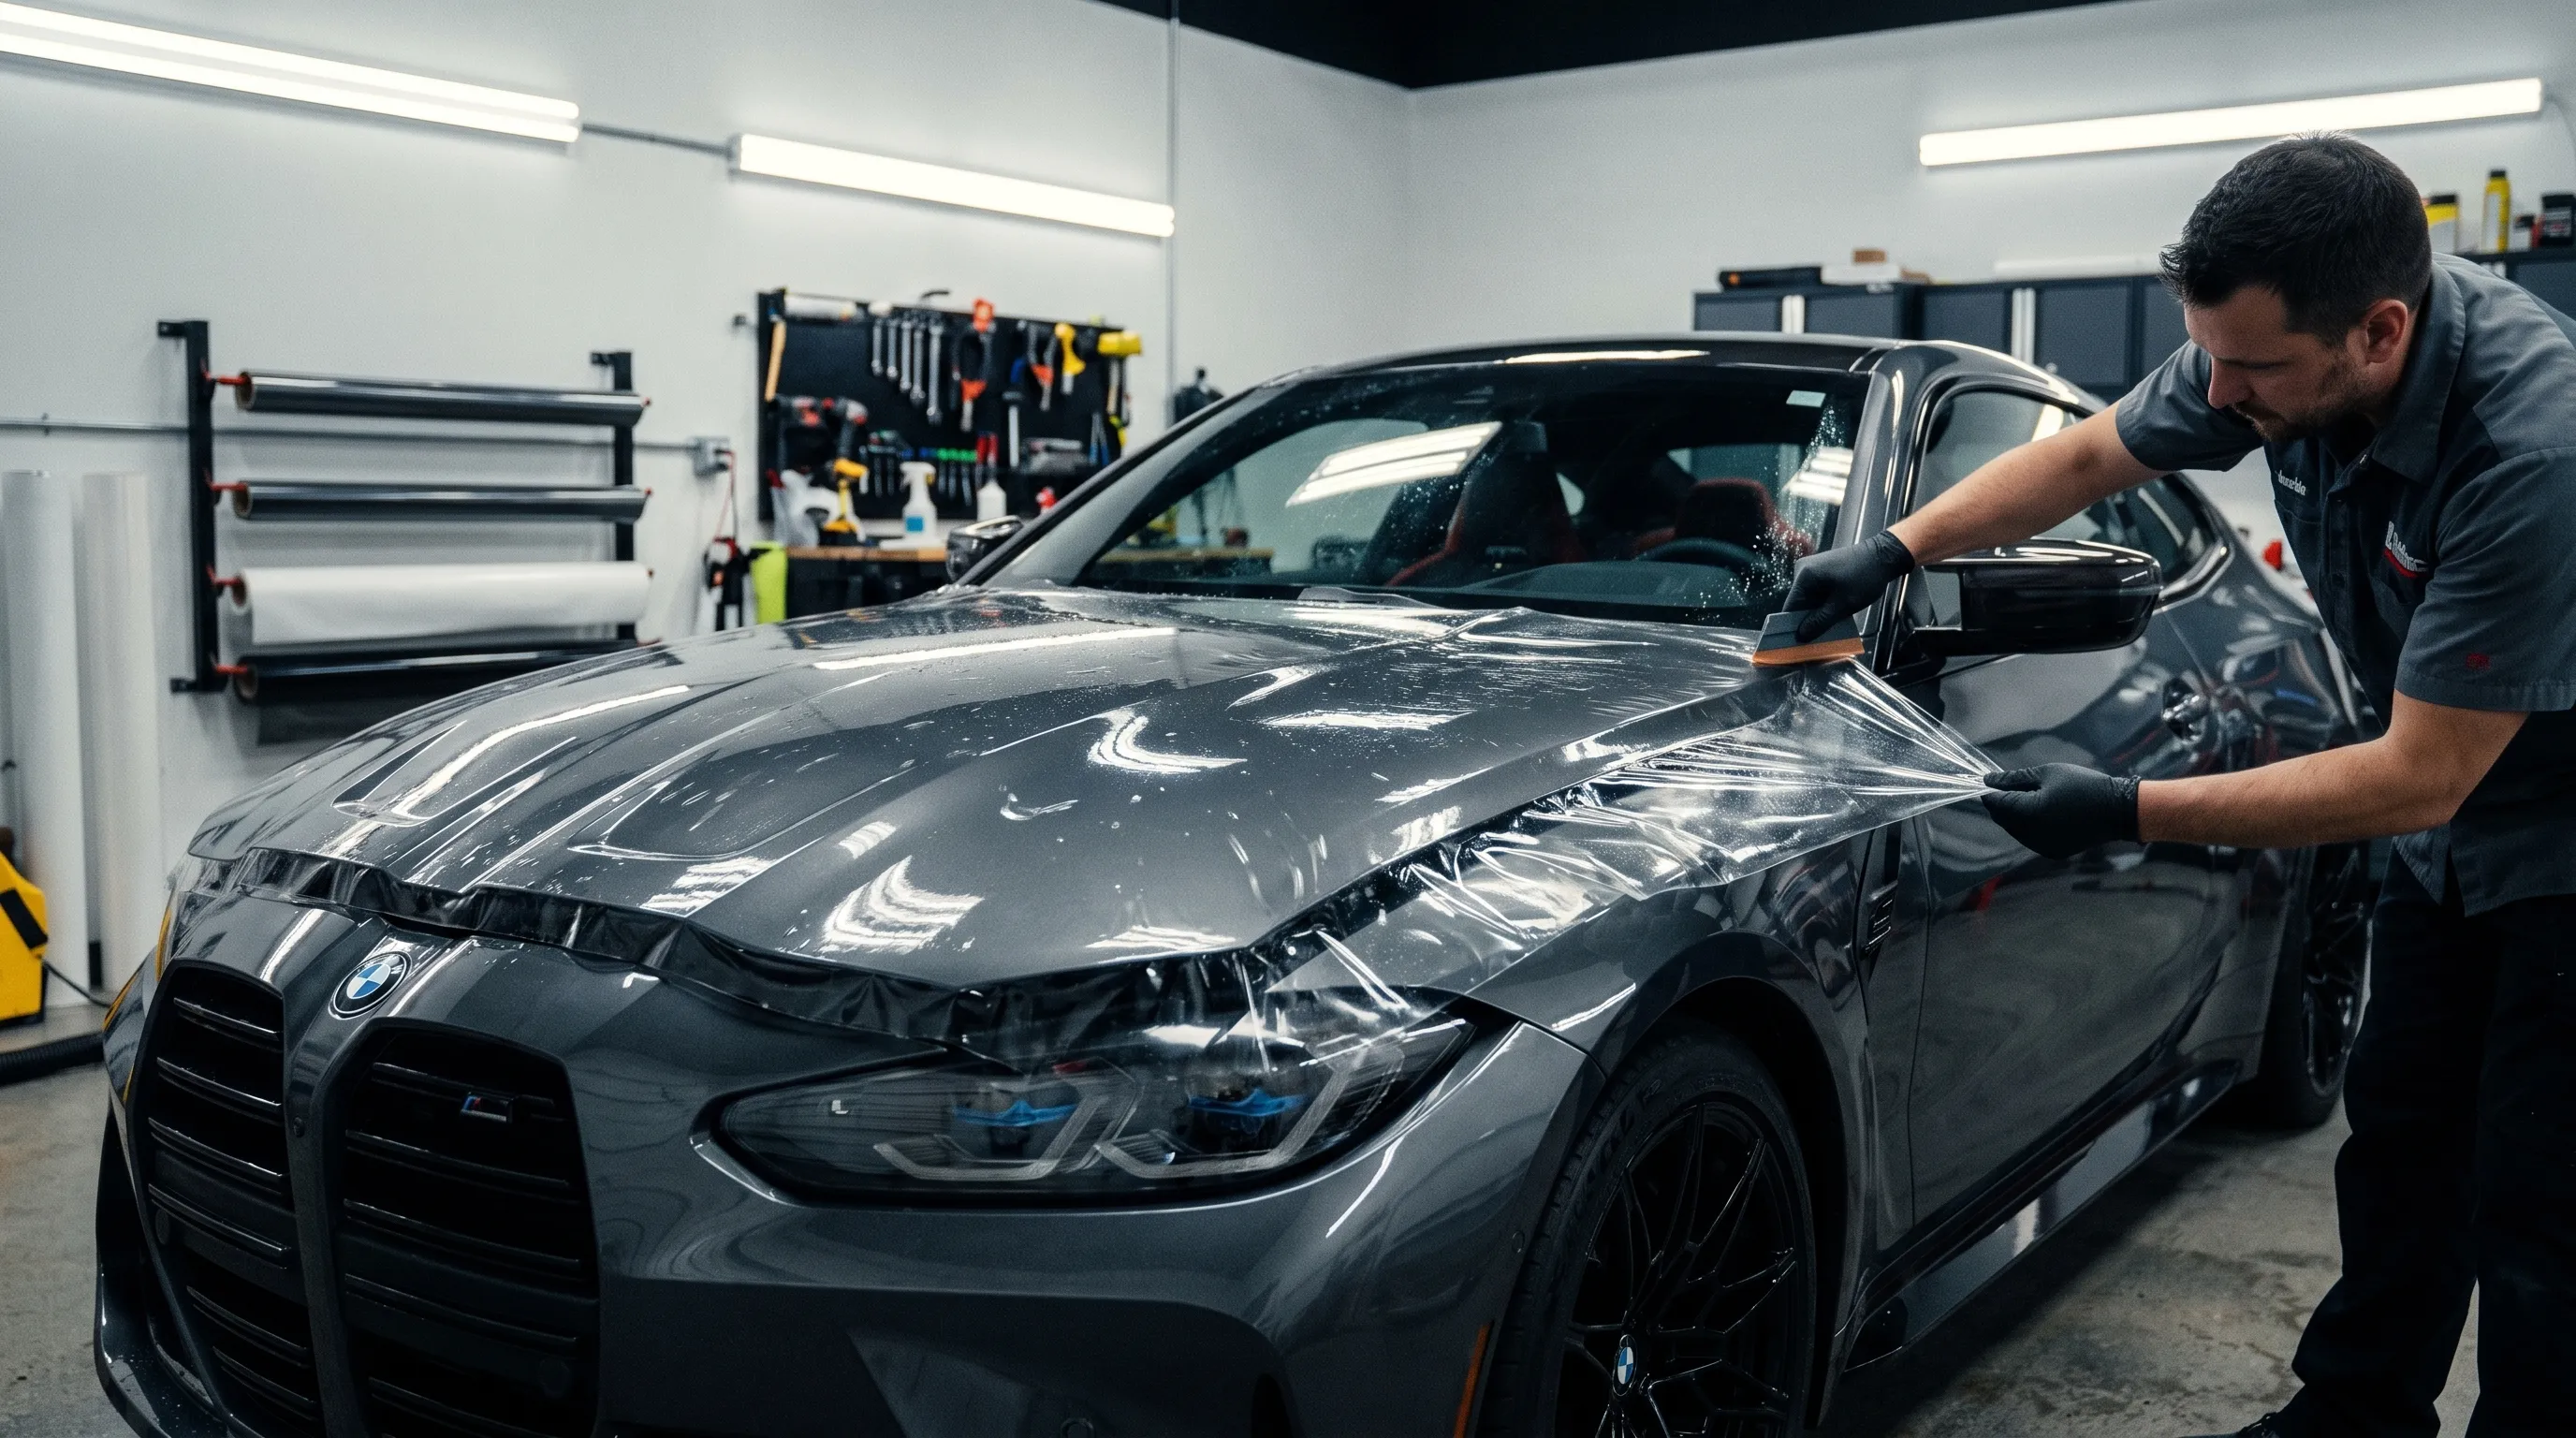
Step 2: Install the Film on Controlled Test Panels
Laboratory data describes prepared specimens. Your technicians install shaped patterns on painted vehicles, so the second stage must reproduce the actual shop process.
Use identical black, white, and metallic painted panels. Black reveals haze, adhesive disturbance, texture, and stretch lines. White exposes yellowing, contamination, and warm adhesive color shift.
Add at least one compound test form with a recessed section, convex corner, and narrow wrapped edge. A flat glass panel cannot tell you how the film will behave on a bumper or mirror cap.
Test Adhesive and Installation Behavior
Condition the panels, film, solutions, and room to the same temperature. Record the slip and tack ratios so every candidate film receives an equivalent process.
Evaluate:
- Release-liner separation and static attraction
- Initial tack and pattern mobility
- Ability to reposition without glue lines
- Squeegee friction and moisture evacuation
- Adhesive disturbance after lifting
- Edge adhesion after 24 and 72 hours
- Recovery force in stretched areas
- Behavior around sensors, corners, and wrapped returns
Record installation time. A film that costs less but adds 30–60 minutes to every bumper may create a higher total installed cost than a more predictable material.
Use the same technician for the first comparison, then repeat the test with a second installer. This separates material behavior from one person’s preferred technique.
Standardized tools matter. Damaged squeegees and uncontrolled blades introduce defects that can be blamed incorrectly on the film. Crystal Shell Precision Install Tools support repeatable positioning, moisture evacuation, trimming, and edge finishing during comparative tests.
Test the Surface and Optical Quality
Inspect each panel under daylight, diffused shop lighting, and directional LED light. View it directly and at low angles, where orange peel, silvering, top-coat texture, and adhesive lines become easier to see.
Create identical shallow marks with a controlled tip, load, and stroke length. Photograph the surface immediately, after one hour, and after 24 hours at room temperature.
Repeat the test with controlled heat. Do not use an unmeasured heat gun until the mark disappears; excessive temperature can make almost any thermoplastic demonstration look more convincing than its real service behavior.
Apply controlled contamination samples such as insect residue, road tar, iron fallout, detergent, and dye. Clean them after fixed dwell periods and compare staining, gloss change, and top-coat swelling.
Cycle the sample between cold and warm conditions, then inspect the wrapped edges. The center of a panel may remain perfect while high-tension corners begin lifting.
Step 3: Validate the PPF on Real Vehicles
The final test is time on a car. Laboratory and shop testing shorten the evaluation process, but neither fully reproduces daily exposure to sunlight, rain, road salt, fuel residue, insects, pressure washing, automatic climate changes, and customer maintenance.
Install candidate film on vehicles that represent your market. A useful field group may include a highway commuter, an outdoor-parked vehicle, a winter-driven vehicle, a dark performance car, and a white vehicle that makes color change easier to detect.
Inspect the installations at defined intervals:
- After 7 days: edges, moisture, initial tack, and installation defects
- After 30 days: contamination, washing response, and corner stability
- After 90 days: gloss, haze, staining, and adhesive behavior
- After 6 months: UV exposure, thermal cycling, and high-impact zones
- After 12 months and beyond: color stability, cracking, lift, and removal behavior
Photograph the same panels from the same angles under similar lighting. Record mileage, storage, climate, washing method, and repair history. Without exposure records, a clean garage vehicle and a winter highway vehicle cannot be treated as equivalent evidence.
Pay close attention to the bumper, rocker panels, mirrors, wheel-impact zones, horizontal surfaces, and stretched corners. These areas expose impact resistance, staining, UV stability, adhesive performance, and installation tension faster than a protected section of roof.
Field testing does not need to wait until a product fails. Its purpose is to confirm that the laboratory ranking and shop behavior continue under actual use.
How Crystal Shell Validates Its PPF
Crystal Shell does not treat a fresh sample or one successful installation as proof of product quality. Its PPF range has been evaluated through multiple material, optical, adhesive, weathering, installation, and surface-performance tests.
The most important validation is time on actual vehicles. Crystal Shell films have been installed and monitored under real driving conditions, where the complete laminate experiences sunlight, temperature changes, washing, contamination, road debris, and sustained edge stress.
This field history matters because PPF is not sold as a laboratory coupon. It is sold as a protective system expected to remain clear, attached, flexible, and serviceable on a vehicle over an extended ownership period.
Crystal Premium Clear Bra uses advanced color-stable aliphatic TPU technology developed by Lubrizol. The TPU platform is selected for optical stability, UV resistance, abrasion performance, elasticity, and resistance to discoloration.
Crystal Shell combines the TPU carrier with a functional top coat and optically controlled pressure-sensitive adhesive. The completed construction is then evaluated for both protective performance and installation efficiency.
The installer-facing targets include:
- Predictable tack and controlled repositioning
- Clean squeegee travel and moisture evacuation
- Stable texture and clarity after stretching
- Reliable wrapped-edge adhesion
- Recovery from shallow surface marks
- Resistance to UV discoloration and road staining
- Consistent behavior between production batches
Crystal Shell also applies the same validation principle to Crystal Satin Stealth and Crystal Color Infused PPF. Satin film must retain uniform sheen, while color PPF must preserve hue and saturation alongside the mechanical performance of the TPU carrier.
This does not mean that controlled testing can stop once vehicles enter the field. Field observations should return to product development, installation guidance, quality control, and future batch evaluation.
The material platform is explained in more detail on the Crystal Shell technology page. Professional shops can review product access and technical support through the Crystal Shell dealer program.
Conclusion: Test the Complete Installation
The fastest PPF test is rarely the most useful one. Begin with material identity and controlled data, continue with a documented shop installation, and finish with extended monitoring on real vehicles.
Do not purchase from thickness, self-healing speed, or warranty length alone. A quality PPF must remain predictable from the moment the liner is removed through years of UV exposure, washing, impact, and thermal cycling.
Crystal Shell combines controlled testing with the evidence that matters most: time installed on actual vehicles. Review Crystal Premium Clear Bra, use Crystal Shell Precision Install Tools to standardize your evaluation, or contact Crystal Shell to request product information for your shop.