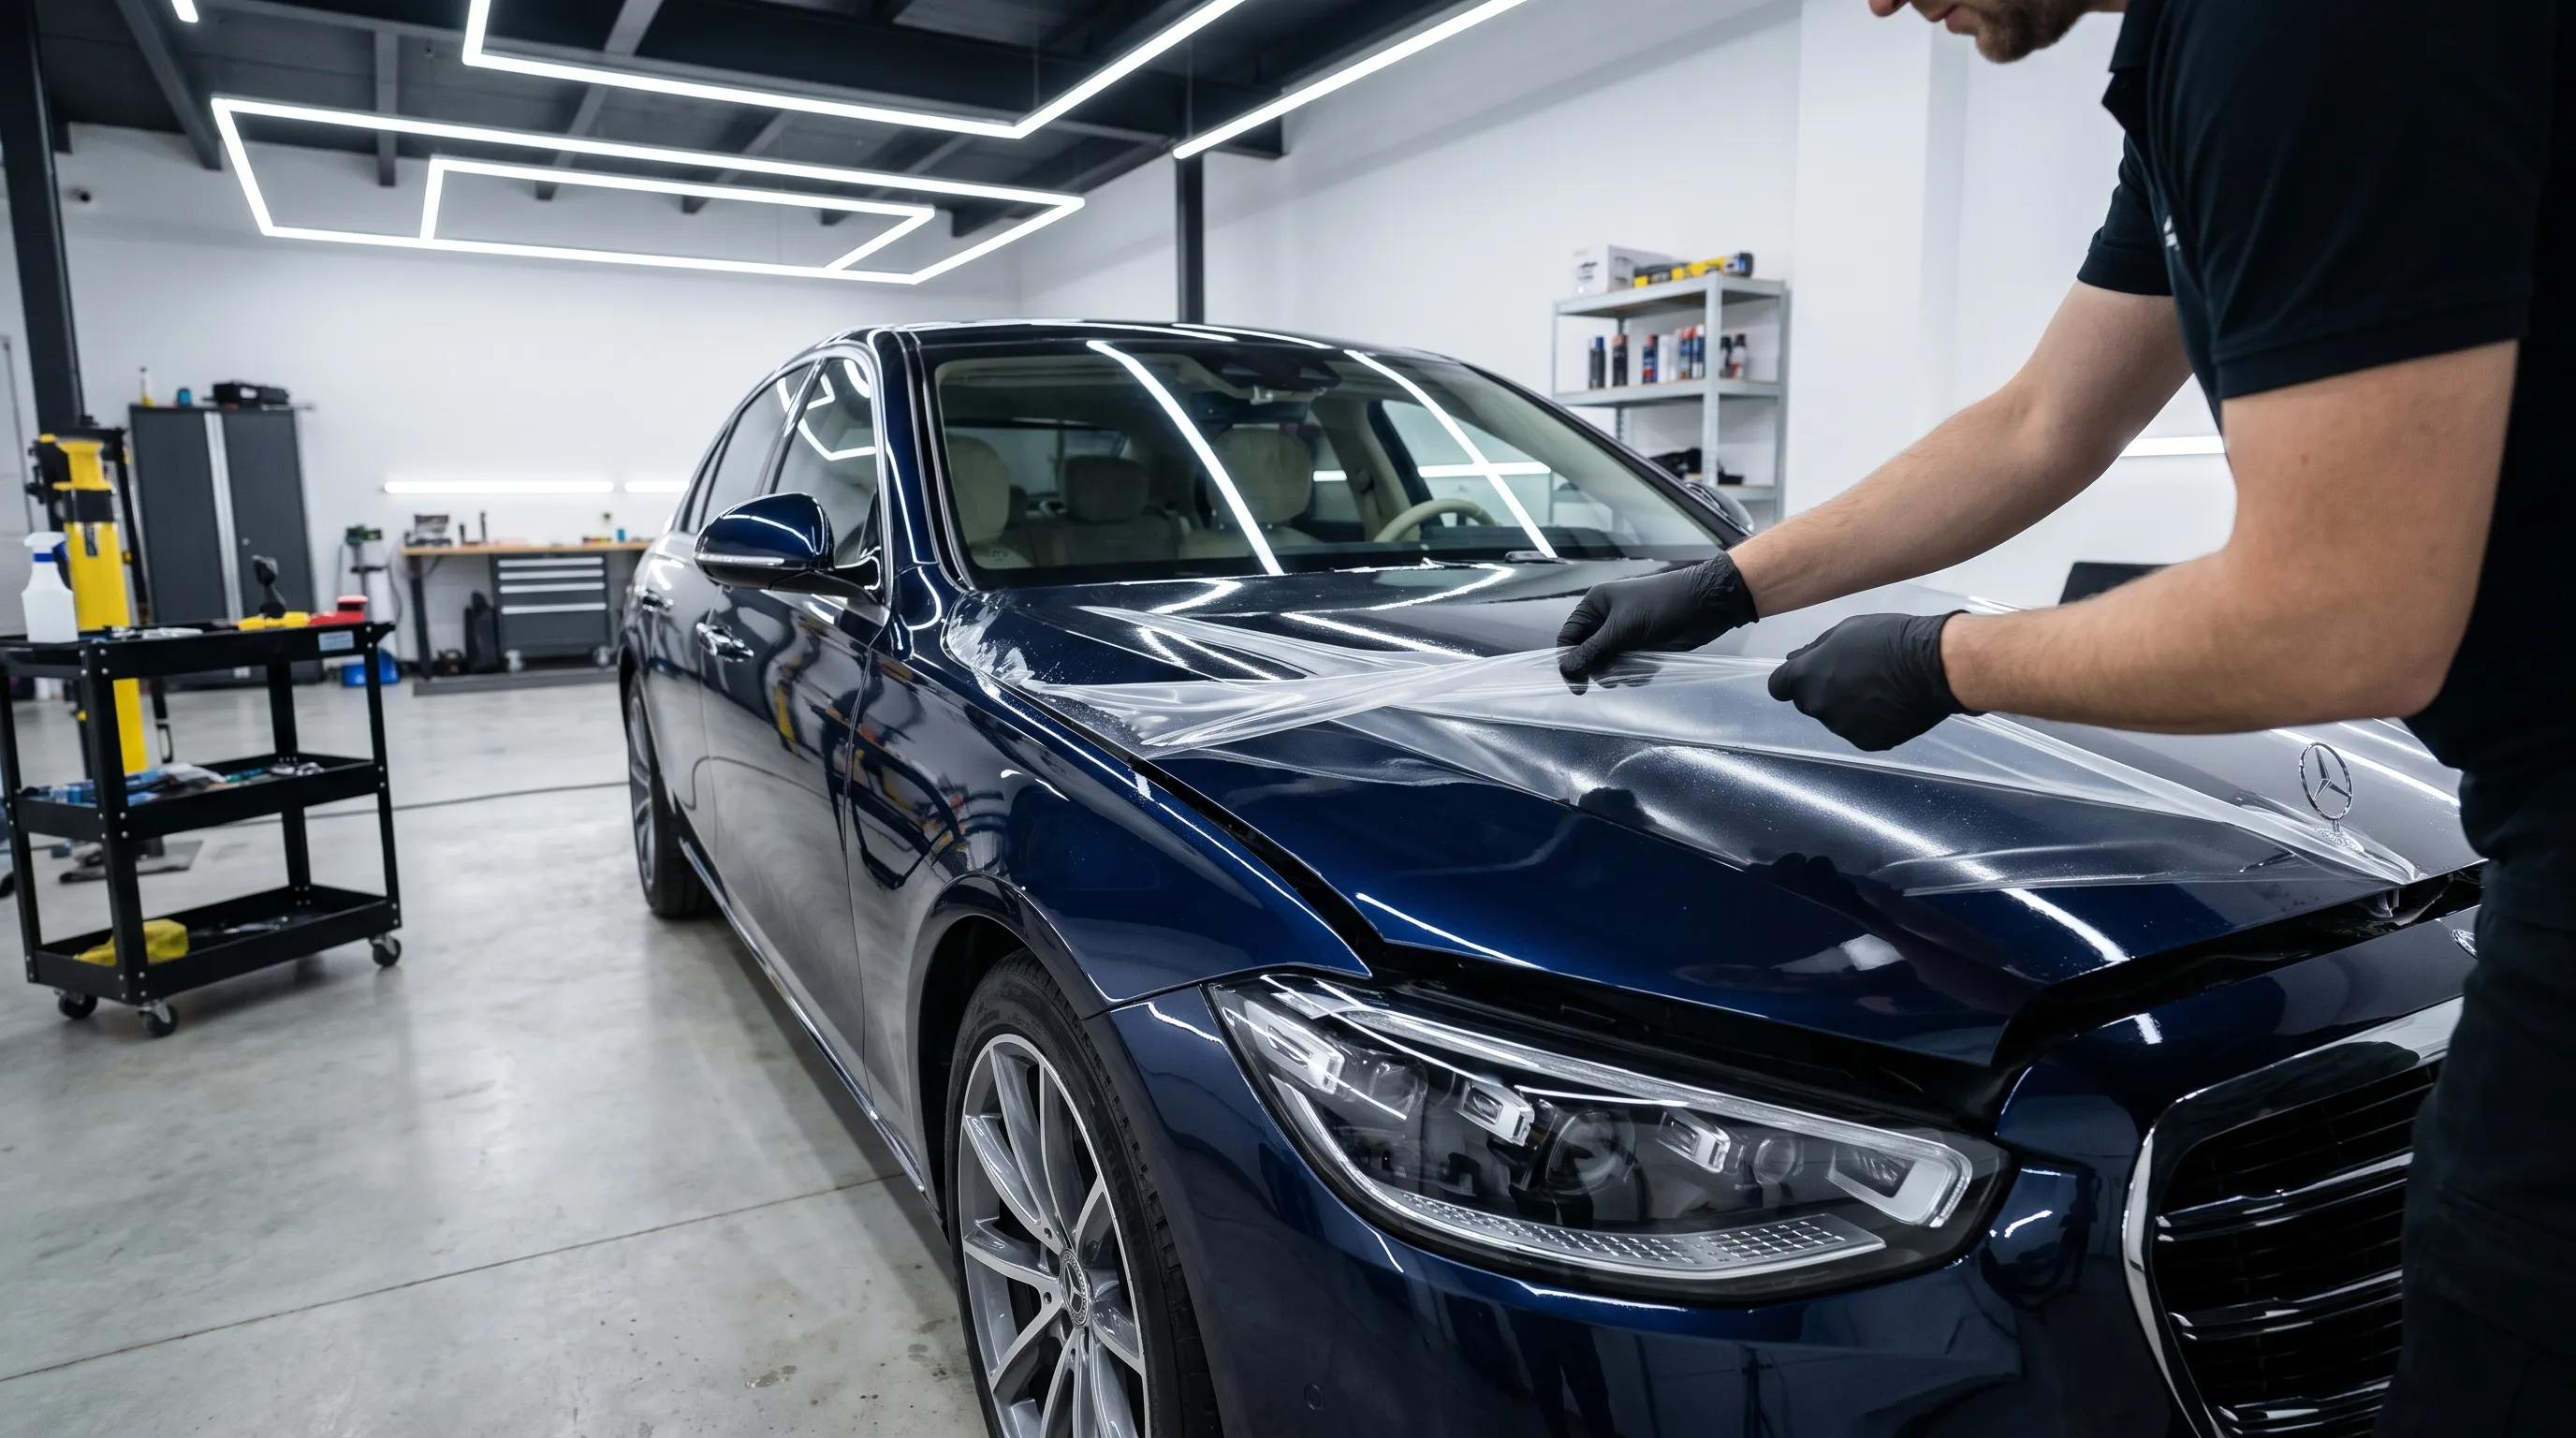
Removing old PPF without damaging paint requires controlled heat, a low peel angle, and an honest assessment of the paint beneath it. Factory paint in sound condition usually tolerates professional removal well. Weak repaint work, brittle film, and aggressive pulling create most of the serious failures.
Do not begin by grabbing a corner and pulling harder. First identify the substrate, film condition, installation age, and reason for removal. Ten minutes of inspection can prevent hours of adhesive cleanup or an expensive body-shop claim.
Why Old PPF Can Be Difficult to Remove
Fresh PPF is flexible, cohesive, and relatively easy to handle. As it ages, UV radiation, heat, detergents, road chemicals, abrasion, and thermal cycling can change the top coat, TPU carrier, and pressure-sensitive adhesive.
A healthy film normally stretches and releases as one continuous sheet. A severely aged film may tear into small sections, separate between layers, or leave more adhesive on the panel.
Removal difficulty is affected by:
- Film age and whether it remained within its intended service period
- Years of UV and high-temperature exposure
- Horizontal or vertical panel orientation
- Original installation tension
- Film thickness and adhesive construction
- Condition of the factory or aftermarket paint
- Previous polishing, chemical exposure, or body repair
Horizontal panels usually receive more sunlight and surface heat than vertical doors. A hood or roof may therefore become more brittle than film installed on the same vehicle’s lower side panels.
Wrapped edges can also resist removal differently from the visible panel face. They may contain concentrated stretch, stronger adhesive contact, contamination, or heat history from the original installation.
Step 1: Inspect the Paint Before Removal
Document the vehicle before touching the film. Photograph panel edges, chips, scratches, bubbles, lifted sections, cracks, repaint transitions, and existing body damage.
Ask for the installation date, product name, installer record, warranty information, accident history, and repaint history. A customer may not know that a bumper or fender was refinished before purchase, so the physical inspection still matters.
Factory Paint vs. Repainted Panels
Sound OEM paint is generally the most predictable removal substrate. The factory coating system is applied and cured under controlled conditions, producing a stronger and more consistent bond between primer, color, clearcoat, and panel.
Aftermarket paint can also release film safely, but the risk is higher. Poor sanding, contamination, insufficient cure, weak clearcoat adhesion, excessive filler, or incompatible layers may cause paint to lift before the PPF adhesive releases.
Inspect for:
- Masking lines around trim, seals, lamps, or panel edges
- Overspray inside gaps or on adjacent components
- Color, texture, or gloss differences between panels
- Unusually thick paint-gauge readings
- Clearcoat lifting, cracking, blistering, or edge failure
- Visible filler, rust, sanding marks, or previous chip repair
A paint-thickness gauge can help identify possible refinishing, but it cannot prove that the paint is strongly bonded. Use it as one part of the inspection rather than permission to remove film aggressively.
If repaint history is confirmed or suspected, document the risk with the customer. Begin in a concealed or less visible area and use lower heat, slower movement, and smaller removal sections.
Evaluate the Condition of the Film
Wash and dry the panel before removal. Dirt hides cracks and becomes abrasive when dragged across exposed paint during the process.
Examine whether the film remains elastic. Warm a small corner gradually and lift only enough material to evaluate how the film and adhesive respond.
| Observed condition | Likely removal behavior | Recommended approach |
|---|---|---|
| Flexible, clear film | Usually releases in large continuous sections | Controlled steam and steady low-angle peel |
| Yellowed but flexible film | May remain cohesive but leave additional residue | Work in moderate-width sections and inspect frequently |
| Cracked or brittle film | Tears into small pieces | Use steam and remove narrow heated sections |
| Film separating between layers | Top layer may release while adhesive and carrier remain | Stop and develop a panel-specific removal process |
| Film over failing paint | Paint may lift with the adhesive | Inform the customer and involve a body-shop specialist |

Step 2: Heat and Peel the PPF Correctly
Heat reduces the force required to separate the adhesive from the paint and makes aged TPU easier to bend. The objective is controlled softening—not cooking the film, adhesive, or painted panel.
Use Controlled Heat
A professional steamer is usually the safest starting tool because it supplies broad, gradual heat with less risk of creating a concentrated hot spot. Keep the nozzle moving and avoid forcing steam directly into electrical components, open trim, or damaged film edges.
A heat gun can be used when the product procedure permits it, but surface temperature must be monitored with an infrared thermometer. Do not judge temperature by hand alone.
For many professional removal procedures, approximately 40–50°C is a useful starting range. Product instructions take priority because adhesive chemistry, film age, paint condition, and panel material can require a different process.
Use the lowest temperature that allows the film to release continuously. More heat is not automatically safer.
Excessive heat can:
- Soften the adhesive until it separates from the film
- Increase residue left on the panel
- Distort plastic bumpers or nearby trim
- Damage sensitive repaint work
- Create uneven expansion across composite panels
- Burn the technician or overheat electronic components
Heat the removal zone slightly ahead of the peel line rather than heating the entire panel and allowing it to cool before removal reaches that section.
Maintain a Low Removal Angle
Lift the starting edge with a clean non-marring tool. Do not dig beneath the film with a metal razor or knife tip.
Pull the film back across itself at a controlled low angle. Depending on the product, published removal procedures may specify an angle below 30 degrees or approximately 30–60 degrees from the painted surface.
A practical starting technique is to keep the film near 30–45 degrees, then adjust within the manufacturer’s procedure according to release behavior. Avoid pulling vertically away from the panel.
A high angle concentrates force at the paint-to-substrate interface. A lower angle directs more of the force through the film and along the panel, reducing the tendency to lift weak paint.
Maintain slow, steady movement. Sudden jerking increases peak force and can tear brittle TPU or shock a questionable repaint layer.
Keep both hands close to the active peel line. Holding the released film several feet away creates uneven leverage and makes temperature control more difficult.
On large panels, remove the film in manageable widths. Cutting the old film into narrower strips can reduce peel force, but the film must be cut without contacting the paint. Use lifted-film cutting, safe cutting tape, or another paint-protected method.
Never score old PPF while it remains flat against the body panel. A shallow knife line can penetrate aged film and leave a permanent cut in the clearcoat beneath it.
Step 3: Remove Adhesive Residue Safely
Some adhesive residue does not automatically mean the film failed. Residue increases with age, heat exposure, degraded film, unsuitable removal temperature, or pulling too quickly.
First determine whether the remaining material is adhesive, top-coat residue, contamination, or part of a delaminated film layer. Rubbing the wrong material with solvent can spread it across the panel.
Use only an adhesive remover approved for automotive paint and compatible with the substrate. Test it in a concealed area before treating a complete hood, bumper, or fender.
Apply the smallest amount required to the affected section. Allow the manufacturer-specified dwell time, then lift softened residue with a clean microfiber towel or tested non-marring plastic scraper.
Do not flood seams, badges, sensor openings, porous trim, or repainted edges with solvent. Liquid can migrate behind components and attack materials that were not part of the test area.
Avoid:
- Metal razor blades on painted panels
- Strong unidentified solvent mixtures
- Gasoline, brake cleaner, or lacquer thinner
- Dry scraping hardened adhesive
- Abrasive pads or heavy-cut compound as the first step
- High-speed machine polishing over softened residue
Change towels frequently. A saturated towel spreads dissolved adhesive into a thin haze that creates more cleanup work.
After residue removal, wash and neutralize the panel according to the chemical supplier’s instructions. Inspect under directional lighting before polishing or applying replacement PPF.
Light correction may be appropriate after the surface is clean. Paint correction should address real clearcoat defects, not serve as an aggressive method for grinding away adhesive.
Common PPF Removal Mistakes
The first mistake is removing film in a cold shop. Cold TPU becomes less flexible and the adhesive requires greater peel force, increasing tearing and paint risk.
The second mistake is overheating the panel. Technicians sometimes apply more heat when the film leaves residue, even though excessive heat may soften the adhesive further and increase transfer.
The third mistake is pulling upward at 90 degrees. This loads the paint system directly and is especially dangerous around repainted edges, filler repairs, and plastic bumpers.
The fourth mistake is trying to remove a hood or roof in one dramatic sheet. Large sections create inconsistent tension and temperature. The film cools before the technician reaches the far side, then tears or releases unpredictably.
The fifth mistake is assuming every paint defect was caused by PPF. Photograph chips, clearcoat failure, corrosion, and repaint defects before removal so the condition beneath the film can be evaluated fairly.
The sixth mistake is using a metal blade to start an edge. A scratched clearcoat turns a routine removal into a body-shop repair.
The seventh mistake is allowing adhesive remover to dry on the panel. Work in small sections and follow the chemical manufacturer’s dwell and removal procedure.
The final mistake is continuing after paint begins lifting. Stop immediately. Additional heat or a different pull direction should not be tested across the rest of the panel without informing the customer and reassessing the substrate.
When the Film Should Not Be Removed Normally
Some installations need a specialist removal plan rather than the standard heat-and-peel process.
Stop and reassess if:
- The film has become severely cracked or powdery.
- The TPU separates from the adhesive across a large area.
- Paint lifts during the initial concealed test.
- The film was installed over existing vinyl or graphics.
- The panel contains uncured, blistered, or poorly bonded repaint work.
- Rust or corrosion is visible beneath an edge.
- Removal crosses fragile decals, pinstripes, or painted graphics.
- The film is bonded to porous, textured, or unknown substrates.
PPF installed over another film may remove or damage the layer beneath it. Do not assume the lower layer will remain attached simply because the PPF releases from one test corner.
Painted stripes and hand-applied graphics also require specific approval. Their adhesion may be lower than the surrounding OEM clearcoat.
In high-risk cases, involve a qualified body shop before continuing. The correct outcome may be controlled removal with the expectation of repainting—not pretending that technique can repair weak paint adhesion.
The Crystal Shell Removal and Replacement Workflow
Crystal Shell recommends documenting the original installation date, product model, coverage, batch information, paint condition, and any known body repairs. Those records make future removal and warranty evaluation more predictable.
Crystal Premium Clear Bra is backed by a 10-year limited warranty and is intended to remain within a defined service period rather than being left on the vehicle until the film is severely degraded.
Removing and replacing PPF while the laminate remains flexible is normally more efficient than waiting for cracking, major discoloration, or layer separation. Inspection should begin before the end of the expected service period, particularly on heavily exposed horizontal panels.
For a Crystal Shell removal:
- Confirm the film model, installation date, and covered panels.
- Photograph the film and paint condition before removal.
- Map OEM and repainted panels using records, inspection, and paint measurements.
- Clean the film so cracks, residue, and edge condition are visible.
- Test heat and release behavior in a controlled section.
- Remove using measured heat and a low, steady peel angle.
- Clean residue with approved paint-safe chemistry.
- Inspect and correct the exposed paint before replacement.
Non-marring edge tools and controlled trimming equipment from Crystal Shell Precision Install Tools help technicians start and separate film without treating the painted panel as a cutting surface.
If replacement is planned, do not apply wax or ceramic coating after removal. Complete paint correction and final cleaning first, then install the new PPF on an uncontaminated surface.
The correct layering sequence is explained in the wax and ceramic coating over PPF guide. Installers can also review how to test PPF quality before selecting replacement material.
Unexpected brittleness, unusual adhesive transfer, or suspected material failure should be documented before disposal. Preserve a representative film sample, photographs, batch information, and removal conditions for technical review.
Professional shops can access product and removal support through the Crystal Shell dealer program or contact Crystal Shell.
Conclusion: Control Heat, Angle, and Paint Risk
Safe PPF removal depends on three controls: verify the paint, soften the adhesive with measured heat, and peel the film slowly at a low angle. Technique must change when the panel is repainted or the film has become brittle.
Never compensate for resistance by pulling harder. Stop, restore heat, shorten the working section, and reassess the substrate. If paint begins lifting, the problem is no longer routine film removal.
Remove PPF within its intended service period, document every repaint risk, and prepare the exposed panel correctly before installing replacement film. Review Crystal Premium Clear Bra or contact Crystal Shell for replacement-film and installer support.