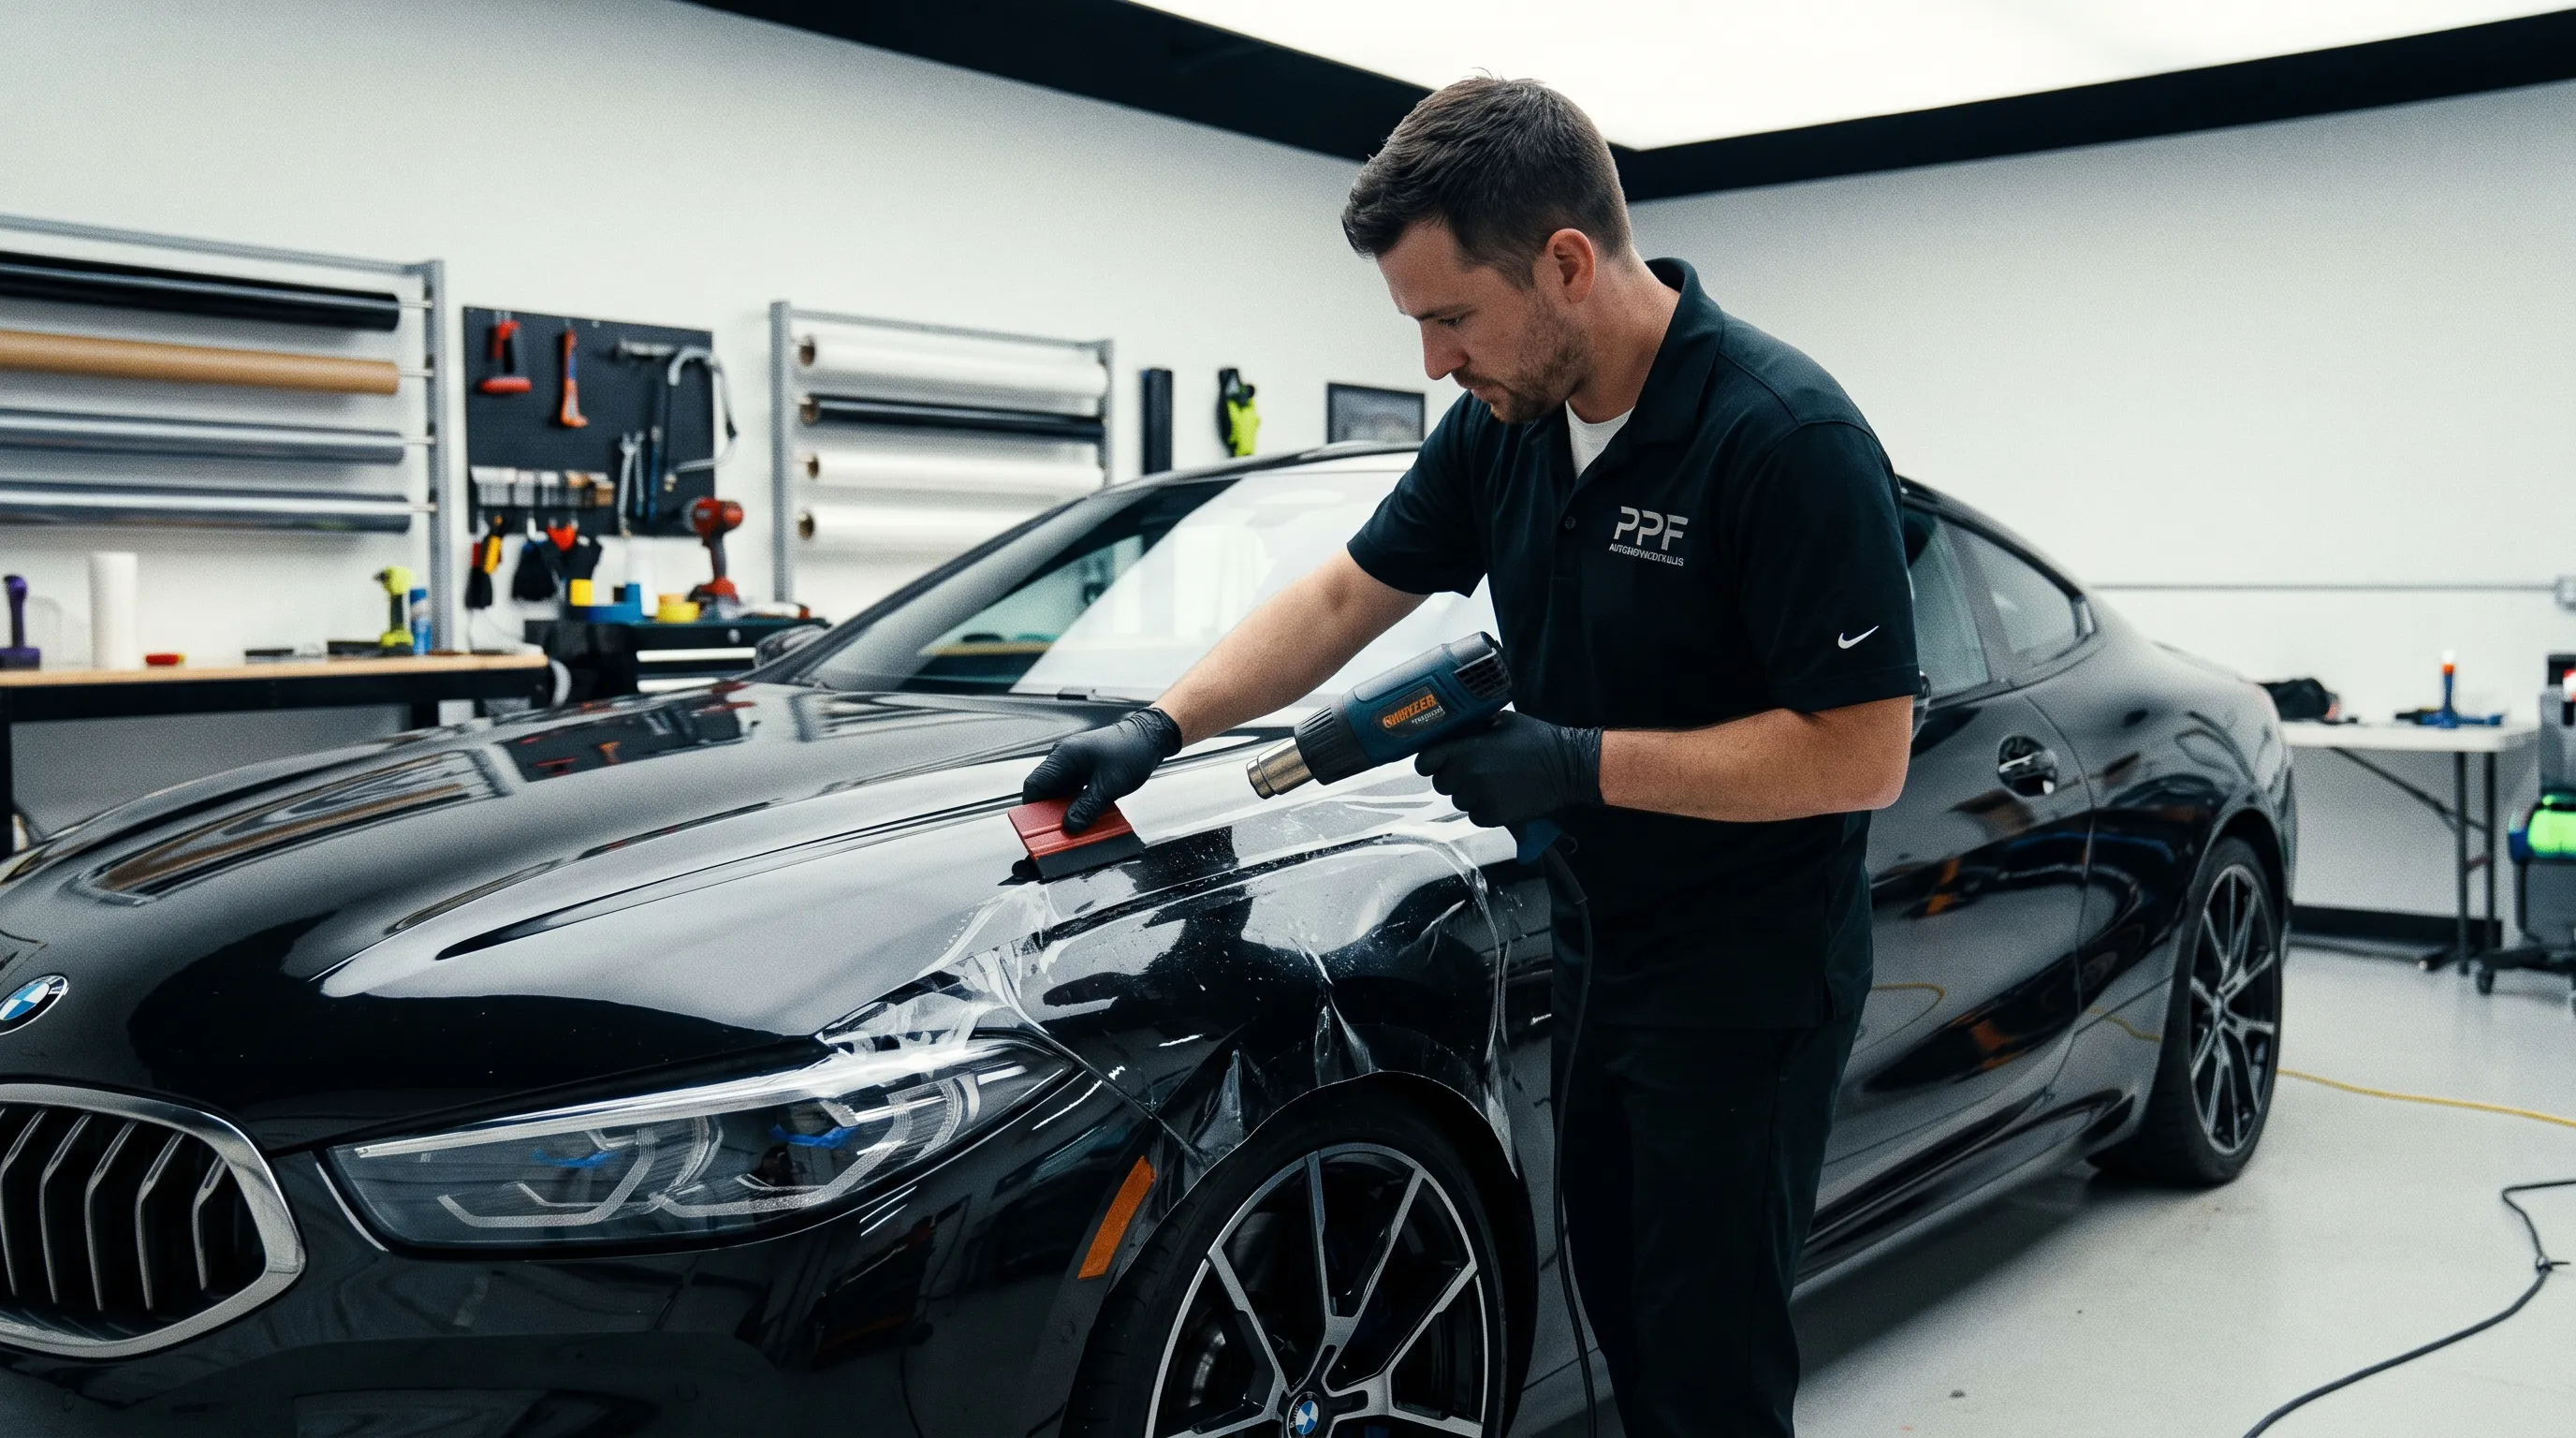
PPF bubble removal starts with diagnosis, not pressure. A clear pocket beneath paint protection film may contain air, installation fluid, contamination, or adhesive distortion—and each condition requires a different response.
Small moisture pockets may disappear during curing. A sharp air bubble usually needs immediate correction, while dust or hair cannot be pushed out at all. Treating every defect with heat or a needle is how installers turn a repairable issue into a permanent mark.
Why PPF Bubbles Form
Wet-applied PPF is positioned using water and a controlled slip solution. The installer then uses overlapping squeegee strokes to remove air and fluid while activating contact between the pressure-sensitive adhesive and the paint.
A bubble forms when something interrupts that process. The cause may be insufficient squeegee pressure, incomplete overlap between strokes, excessive slip solution, trapped contamination, premature adhesive contact, or film installed under concentrated tension.
Panel geometry also matters. Convex bumper corners push fluid toward the edges, while recessed areas can trap liquid behind a section that was anchored too early. Bad installation sequencing can seal the exit path before the remaining fluid has somewhere to go.
Temperature changes adhesive behavior. A cold panel reduces initial adhesion and slows moisture evacuation. Excessive heat or an overly warm panel can make the adhesive grab before the film is aligned and properly squeegeed.
The installer should therefore record the room temperature, panel temperature, solution ratio, film batch, and affected panel when a recurring bubble problem appears. Repeated defects across multiple installations usually indicate a process variable—not random bad luck.
Identify the Defect Before Trying to Fix It
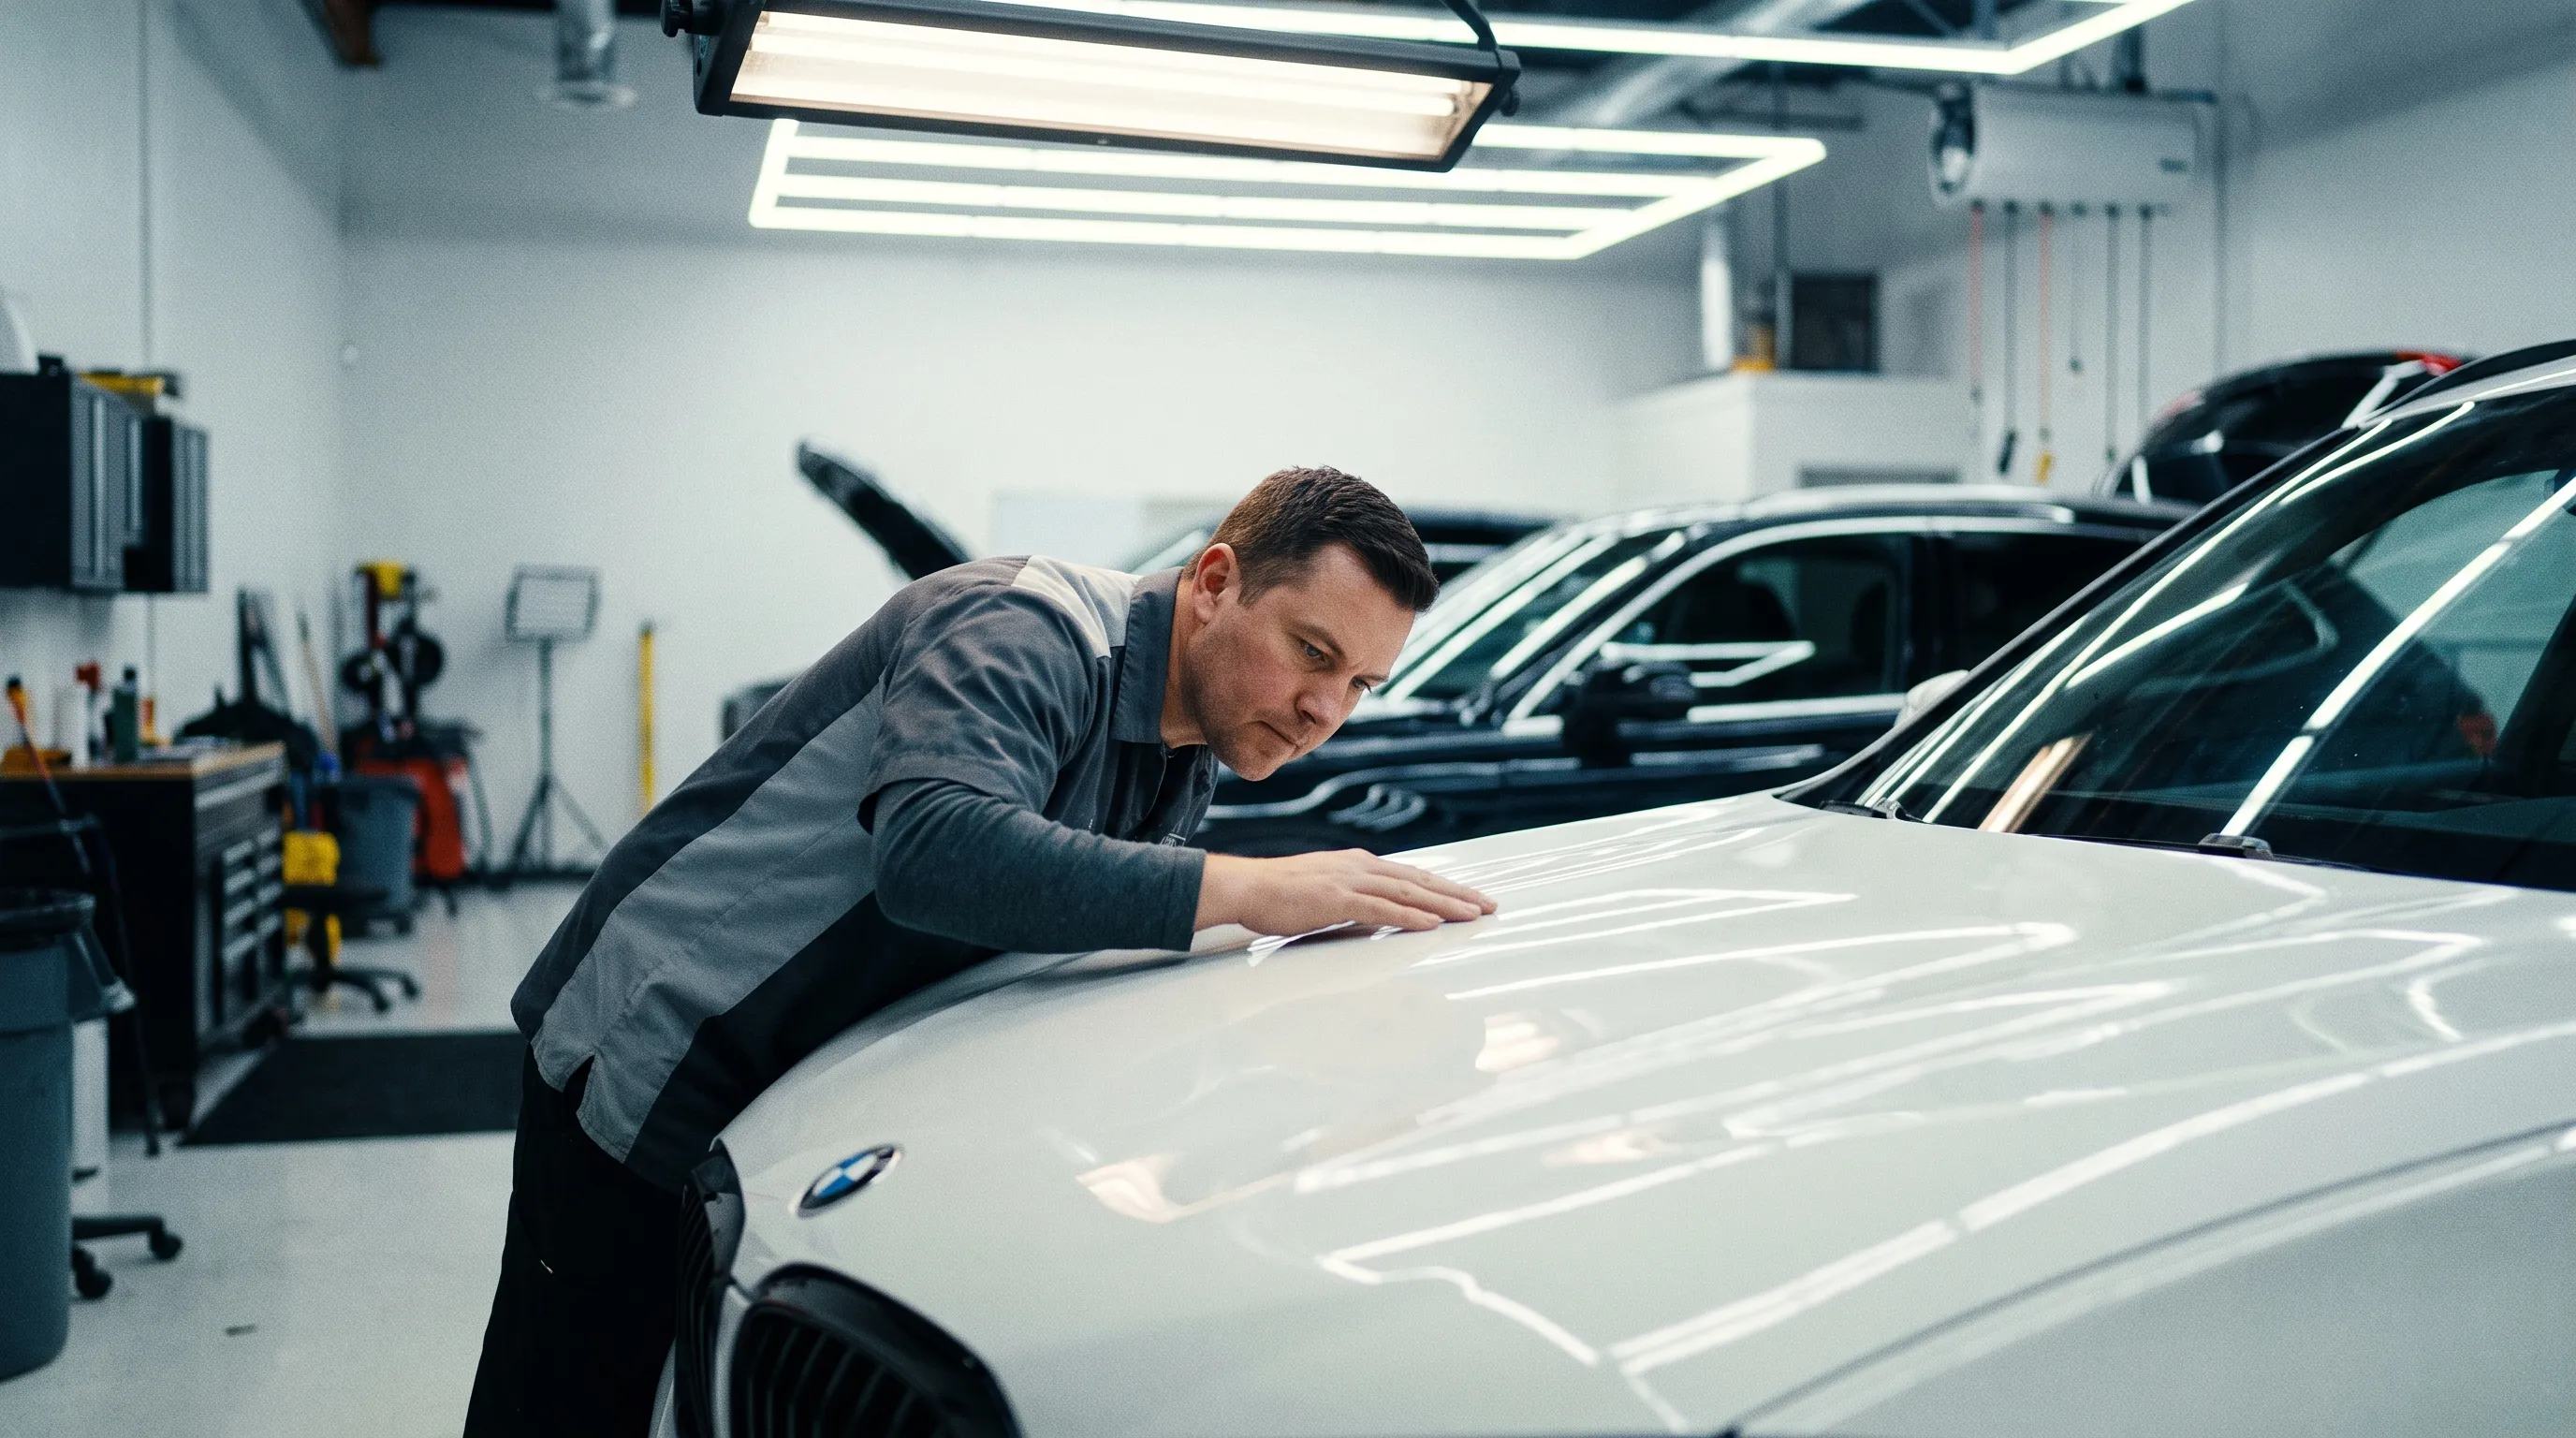
Use directional inspection lighting and view the defect from several angles. Press lightly around it with a clean, wet fingertip without forcing the film into the paint.
| Defect type | What it looks like | Likely action |
|---|---|---|
| Small moisture pocket | Soft-edged or slightly cloudy area with no hard central point | Allow controlled curing and monitor |
| Large trapped-fluid pocket | Visible liquid movement when light pressure is applied | Lift and re-squeegee before adhesion builds |
| Air bubble | Sharp reflective boundary with no cloudy fluid appearance | Reopen an exit path and remove immediately |
| Contamination | Hard central point, fibre, hair, or raised particle | Lift and remove the contaminant or replace the section |
| Adhesive line | Linear mark following a lifted or snapped section | Reduce tension and rework early; replacement may be required |
| Edge lift | Bubble connected to a panel edge, corner, seam, or wrapped return | Clean, dry, release tension, and re-anchor the edge |
| Paint outgassing | Multiple blisters forming after application over recent repair work | Remove the film and investigate paint cure |
Do not confuse installation moisture with contamination. Moisture changes shape under pressure and may become less visible as it evaporates. A dust particle remains a fixed raised point and often creates a small ring around itself.
Adhesive distortion is also not a true bubble. It may look like a line, finger, or cloudy patch after the film has been aggressively lifted and reinstalled. More pressure does not necessarily remove it because the adhesive layer has already been mechanically disturbed.
How to Fix PPF Bubbles During Installation
The best correction window is before final adhesion develops. Once the panel has dried and the adhesive has built strength, lifting the film creates more risk of distortion, contamination, and stretch marks.
Trapped Air or Large Water Pockets
If the defect appears while the panel is still wet, stop squeegeeing beyond it. Continuing may seal the bubble inside a ring of already anchored adhesive.
Lift the nearest film edge or an unanchored section until the pocket has a clear exit path. Re-wet the adhesive when required, lay the film back without concentrated tension, and drive the fluid from the center toward the open edge.
Use overlapping strokes of approximately 50%. Keep the squeegee face flat enough to maintain consistent pressure rather than pushing only with one corner.
Large fluid pockets should not be left with the assumption that every trace will cure out. Excess liquid can delay adhesion, migrate toward edges, and contribute to lifting in high-tension areas.
Small residual moisture marks are different. Wet-applied PPF can retain minor fluid residue or temporary cloudiness after installation. Depending on temperature, humidity, film construction, and pocket size, these marks may clear over several days or weeks.
Mark the area on the inspection record and photograph it at delivery. The customer should understand which small moisture marks are expected to clear and which conditions require a return inspection.
Contamination and Adhesive Lines
A trapped particle cannot be squeegeed into invisibility. If the adhesive has not fully bonded, lift the film using slip solution, remove the contaminant with a clean tool, rinse the area, and reinstall the section.
Avoid touching exposed adhesive with dry fingers. Skin oil and friction can create a larger visible disturbance than the original particle.
If the contamination sits deep inside an already anchored area, decide whether lifting the film will create more distortion than leaving the particle. On a premium installation, a clearly visible particle normally requires panel rework or replacement.
Adhesive lines are often caused by lifting film that has already received strong squeegee pressure. Snapping it back down under tension can fold or concentrate the adhesive, leaving a line that remains visible on dark paint.
Rework adhesive lines early by lifting beyond the disturbed section, relaxing the film, re-wetting when the product procedure allows it, and applying controlled pressure over a larger area. If the line remains after curing, replacing the affected pattern is usually cleaner than repeatedly heating and pressing it.
How to Handle Bubbles After Delivery
Do not ask the customer to press, puncture, or heat a suspected bubble. A defect that could have been corrected by the installer may become contaminated or visibly damaged after uncontrolled treatment.
For small cloudy moisture areas, inspect the vehicle after the recommended curing period. Keep the panel dry, avoid aggressive washing, and allow normal evaporation through the film and edges.
If the pocket becomes smaller and clearer, continue monitoring it. If it remains unchanged, grows, connects to an edge, or develops a hard central point, the area needs professional inspection.
Sharp air bubbles that remain after curing rarely disappear through evaporation because there is little or no liquid inside them. The appropriate correction depends on the bubble’s size, position, film age, and manufacturer procedure.
Puncturing should be a last-resort professional technique, not a default repair. A needle can leave a visible opening in the top coat, provide a path for contamination, or contact the paint if it is inserted carelessly.
Never use a knife tip to puncture a bubble on a painted panel. A blade opening is larger and less controlled than a fine approved air-release tool, and the cut may extend into the factory clearcoat.
Edge bubbles require a different repair. Lift the affected return, flush out contamination, dry the edge and panel gap, reduce stored tension, then re-anchor the film using the product’s approved edge procedure.
If the film no longer reaches the return without stretch, do not pull it back into position and hope the adhesive holds. Trim to a stable termination or replace the pattern with sufficient edge allowance.
Common Bubble-Removal Mistakes
The first mistake is using a heat gun before identifying the defect. Heat can soften TPU and increase adhesive activity, but it does not remove dust, hair, or excessive installation fluid.
Heating a sealed air bubble expands the trapped gas. Heating an adhesive line can lock the disturbed adhesive into a more visible shape. Use measured temperature only when the film procedure specifically requires it.
The second mistake is chasing a pocket with short, random squeegee strokes. Every stroke should move the defect toward an open edge. Squeegeeing in several directions can trap it inside a fully anchored perimeter.
The third mistake is applying excessive pressure with a dry squeegee. High friction can mark the top coat, create drag lines, or distort the film. Keep the surface lubricated and use a clean tool with an undamaged working edge.
The fourth mistake is adding more alcohol or tack solution to solve every adhesion problem. Excessive tack can anchor the film before fluid is evacuated and make repositioning more likely to produce glue lines.
The fifth mistake is releasing a vehicle without documenting the installation. Photograph remaining moisture marks, edges, seams, and corrected areas. Record which defects are expected to clear and set a defined inspection interval.
The sixth mistake is installing over uncured repaint work. Solvent outgassing or weak paint adhesion can produce blistering that no bubble-removal technique can correct. The film must be removed and the paint system evaluated.
The final mistake is trying to save a pattern after repeated contamination and adhesive disturbance. Film is replaceable. A visibly compromised panel and an unhappy customer cost more than installing a clean new section.
How Crystal Shell Helps Installers Reduce Rework
Bubble prevention begins with predictable material behavior. Crystal Premium Clear Bra is designed to provide controlled positioning, consistent squeegee response, clean moisture evacuation, and stable final adhesion during professional wet installation.
That does not make the film self-installing. Panel preparation, solution control, installation sequence, tension distribution, and edge drying remain the installer’s responsibility.
The benefit of a controlled adhesive and TPU construction is a wider working window. The technician can align the pattern and evacuate fluid without fighting premature grab in one area and weak edge adhesion in another.
Crystal Shell’s recommended installation workflow includes:
- Clean, fully cured, coating-free paint
- Conditioned film, panel, and installation room
- Measured slip and tack solutions
- Center-out squeegee sequencing with overlapping strokes
- Reduced tension near corners and wrapped edges
- Final inspection under directional lighting
- Documented curing and customer aftercare instructions
Clean tools are part of that control system. Crystal Shell Precision Install Tools support consistent pressure, safe trimming, moisture evacuation, and edge finishing without marking the functional top coat.
Installers should also combine plotted patterns with controlled hand finishing rather than using a blade to chase defects on the vehicle. The safer workflow is explained in the blade vs. plotter PPF guide.
Shops experiencing repeated pockets should not immediately change the soap ratio or blame the film. Test one variable at a time: panel temperature, water quality, solution concentration, squeegee condition, technician sequence, or material batch.
The Crystal Shell material platform and adhesive approach are described on the Crystal Shell technology page. Dealers requiring troubleshooting support can use the Crystal Shell dealer program.
Conclusion: Diagnose First, Then Correct
PPF bubbles are symptoms, not one universal defect. Small moisture residue may cure naturally, while air, contamination, adhesive distortion, edge tension, and paint outgassing require different corrective actions.
Work early, maintain an exit path, use controlled overlapping strokes, and replace material when repeated reworking has compromised the adhesive or optical finish. Never use uncontrolled heat or a blade tip as a substitute for diagnosis.
Review Crystal Premium Clear Bra, standardize installation with Crystal Shell Precision Install Tools, or contact Crystal Shell for product-specific installation and bubble-removal guidance.