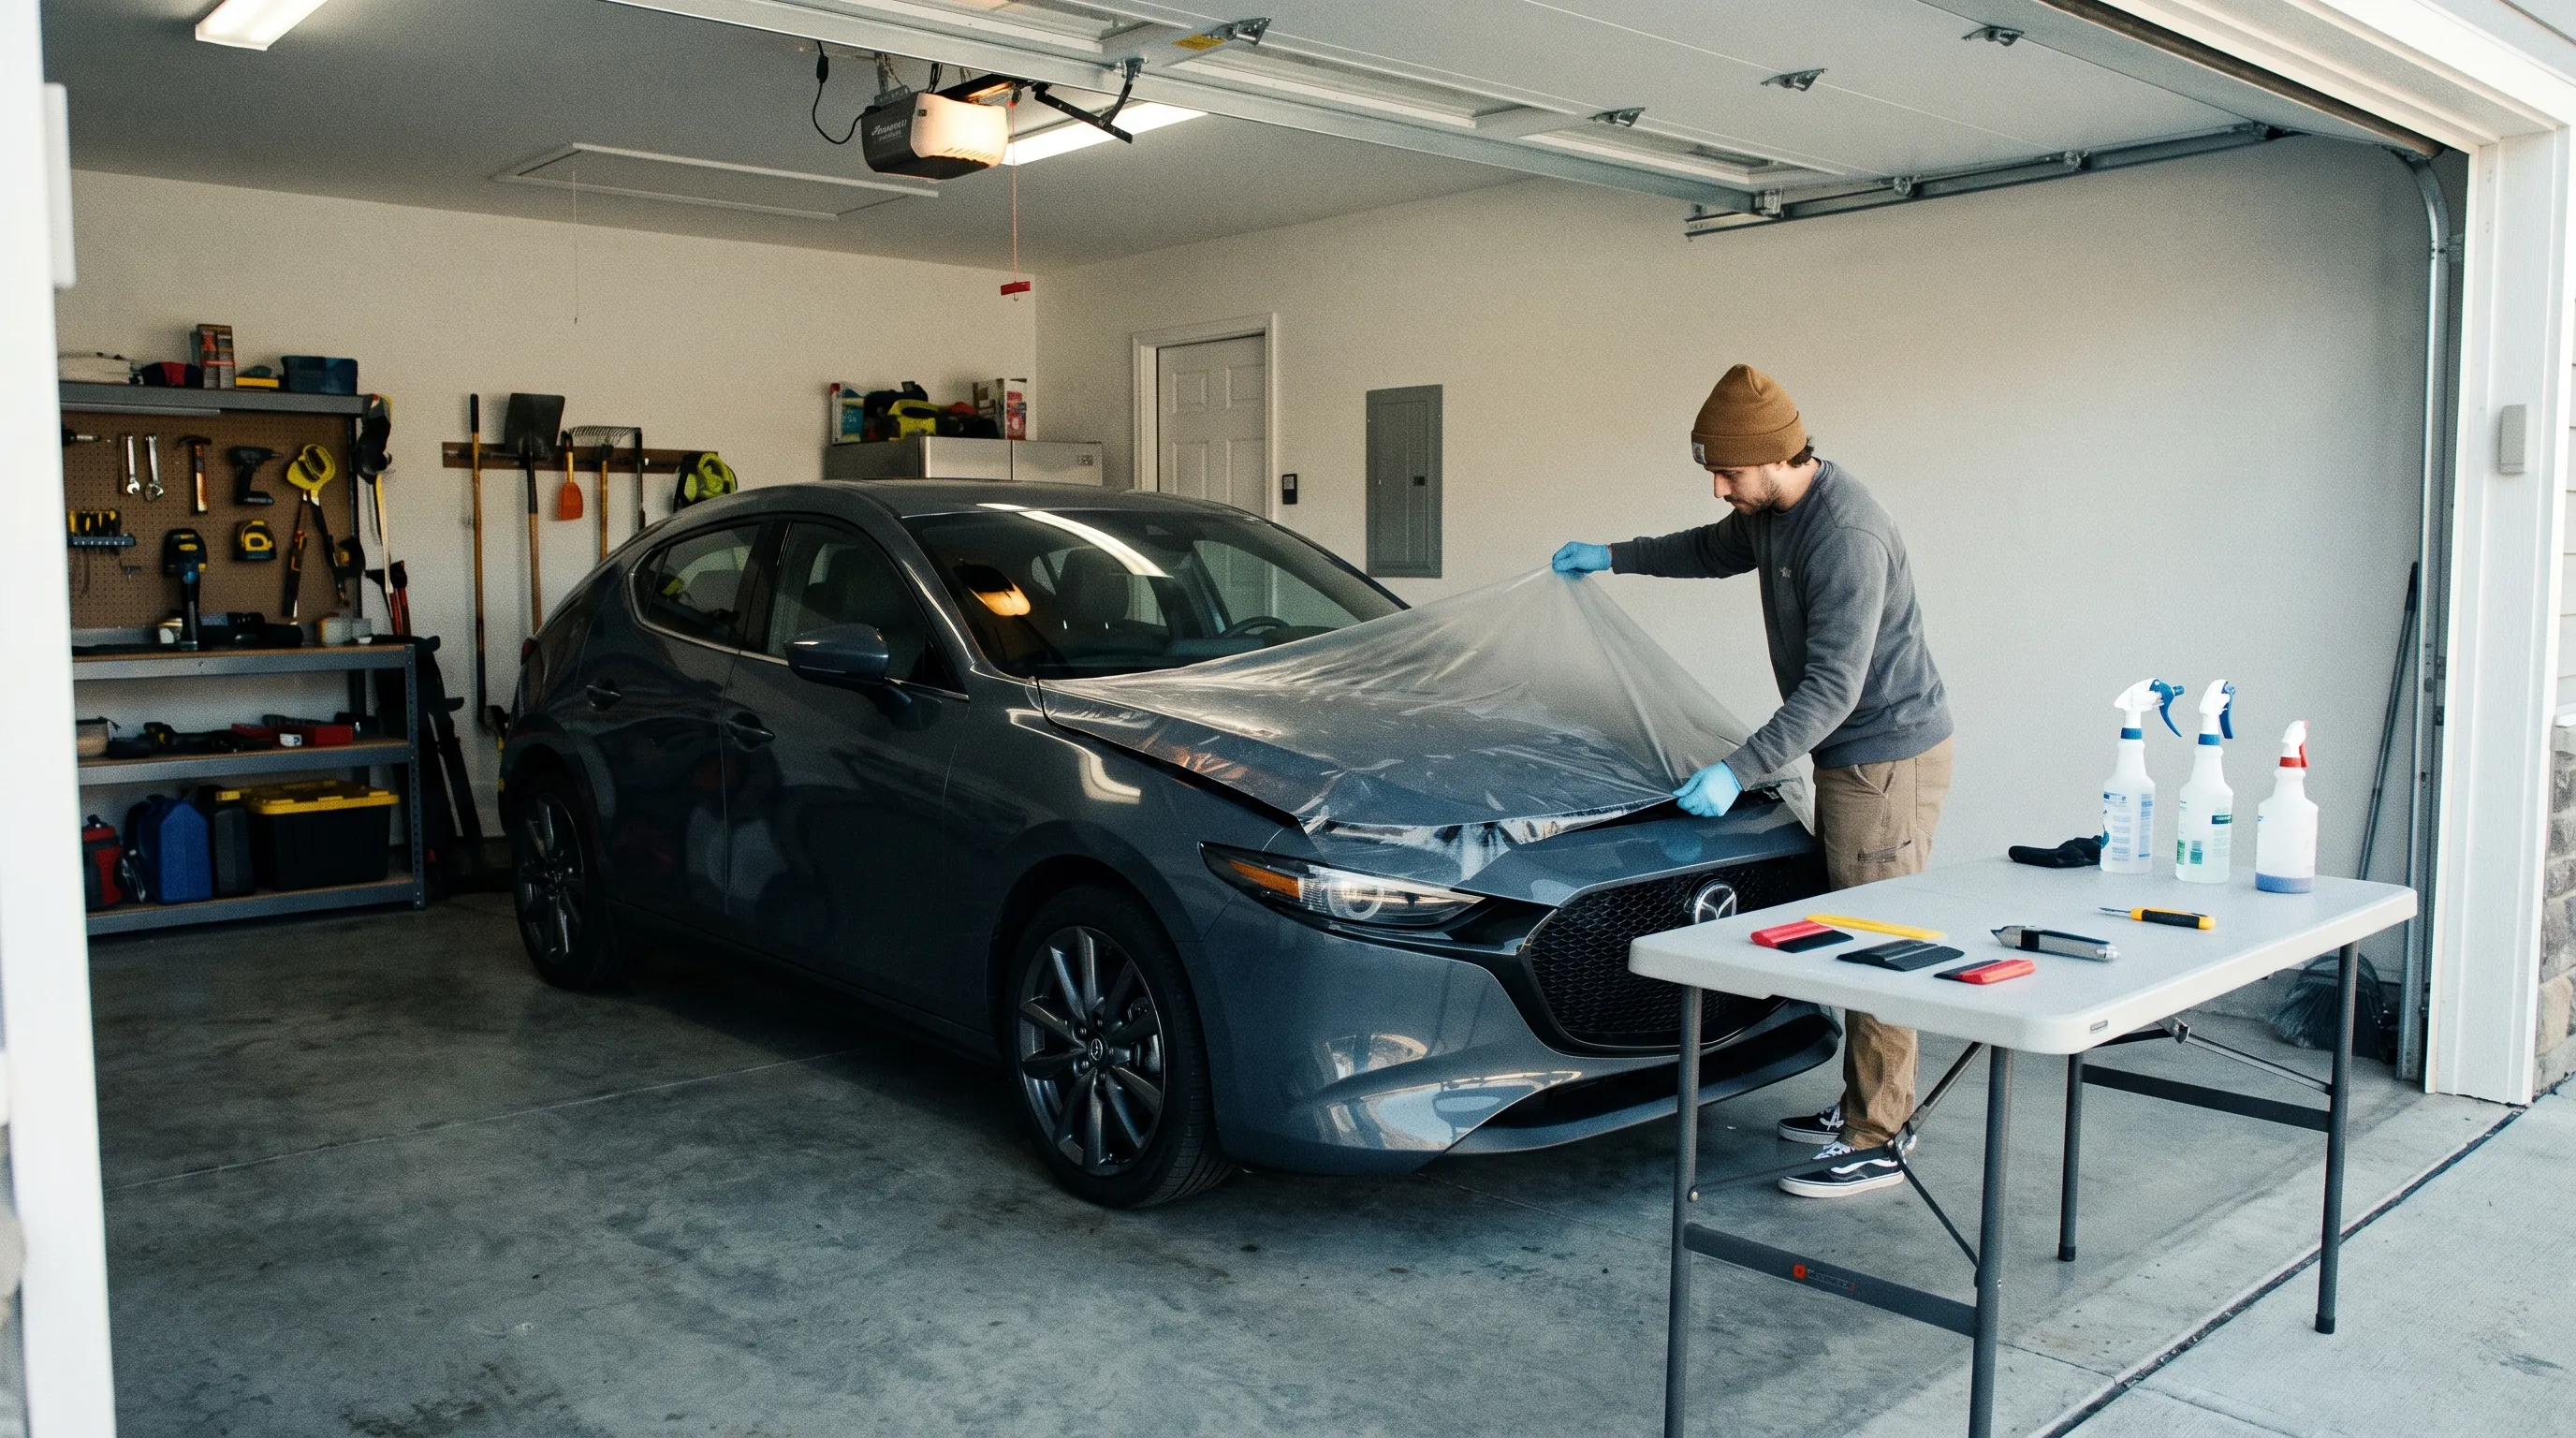
DIY PPF installation is possible on small, relatively flat panels when the installer has a clean workspace, a correctly cut pattern, suitable tools, and enough spare material to practise. Installing a full hood, bumper, mirror, or complete front end is a different level of work.
PPF is not applied like a phone screen protector. The film must be positioned wet, stretched selectively, anchored in the correct sequence, cleared of installation fluid, trimmed without cutting the paint, and finished with stable edges.
Can You Install PPF at Home?
Yes, but a technically successful DIY installation requires more than making the film stick. The finished panel must remain optically clear, free from contamination, correctly aligned, and securely attached after repeated heat cycles and washing.
A first-time installer may produce an acceptable result on a door-sill strip or simple luggage ledge. The same person may struggle with a bumper containing sensors, grilles, compound curves, sharp corners, and several high-tension anchor points.
The fundamental difficulty is that PPF combines several processes:
- Paint inspection and chemical decontamination
- Pattern selection or bulk-film measurement
- Control of slip and tack solutions
- Film positioning without adhesive contamination
- Moisture evacuation without glue lines
- Controlled elongation over compound curves
- Paint-safe trimming and edge finishing
- Post-installation inspection and curing
Missing one step may not create an immediate failure. A contaminated or overstretched edge can look correct at delivery and begin lifting after several hot days or the first pressure wash.
Which Panels Are Realistic for a Beginner?
Start with a panel where the film can remain mostly relaxed and where replacement material is inexpensive. Do not select the most visible or geometrically complex panel as your first attempt.
More realistic beginner projects include:
- Door-handle cups
- Door-sill strips
- Rear bumper loading ledges
- Small rectangular interior trim sections
- Simple lower rocker sections
- Flat test panels removed from the vehicle
Moderate-difficulty panels include flat sections of a hood, simple fenders, broad pillars, and uncomplicated door sections. Even these areas can expose dust, stretch lines, visible seams, and trapped moisture on dark paint.
Do not begin with:
- A complete front bumper
- Large mirror housings
- A full hood installed from bulk film
- Deeply recessed or vented panels
- Matte or satin factory paint
- Expensive carbon-fiber components
- Repainted panels with unknown adhesion
A pre-cut pattern reduces trimming risk, but it does not solve tension, alignment, contamination, or edge adhesion. Poorly aligned pre-cut film can leave exposed paint on one side and insufficient material on the opposite edge.
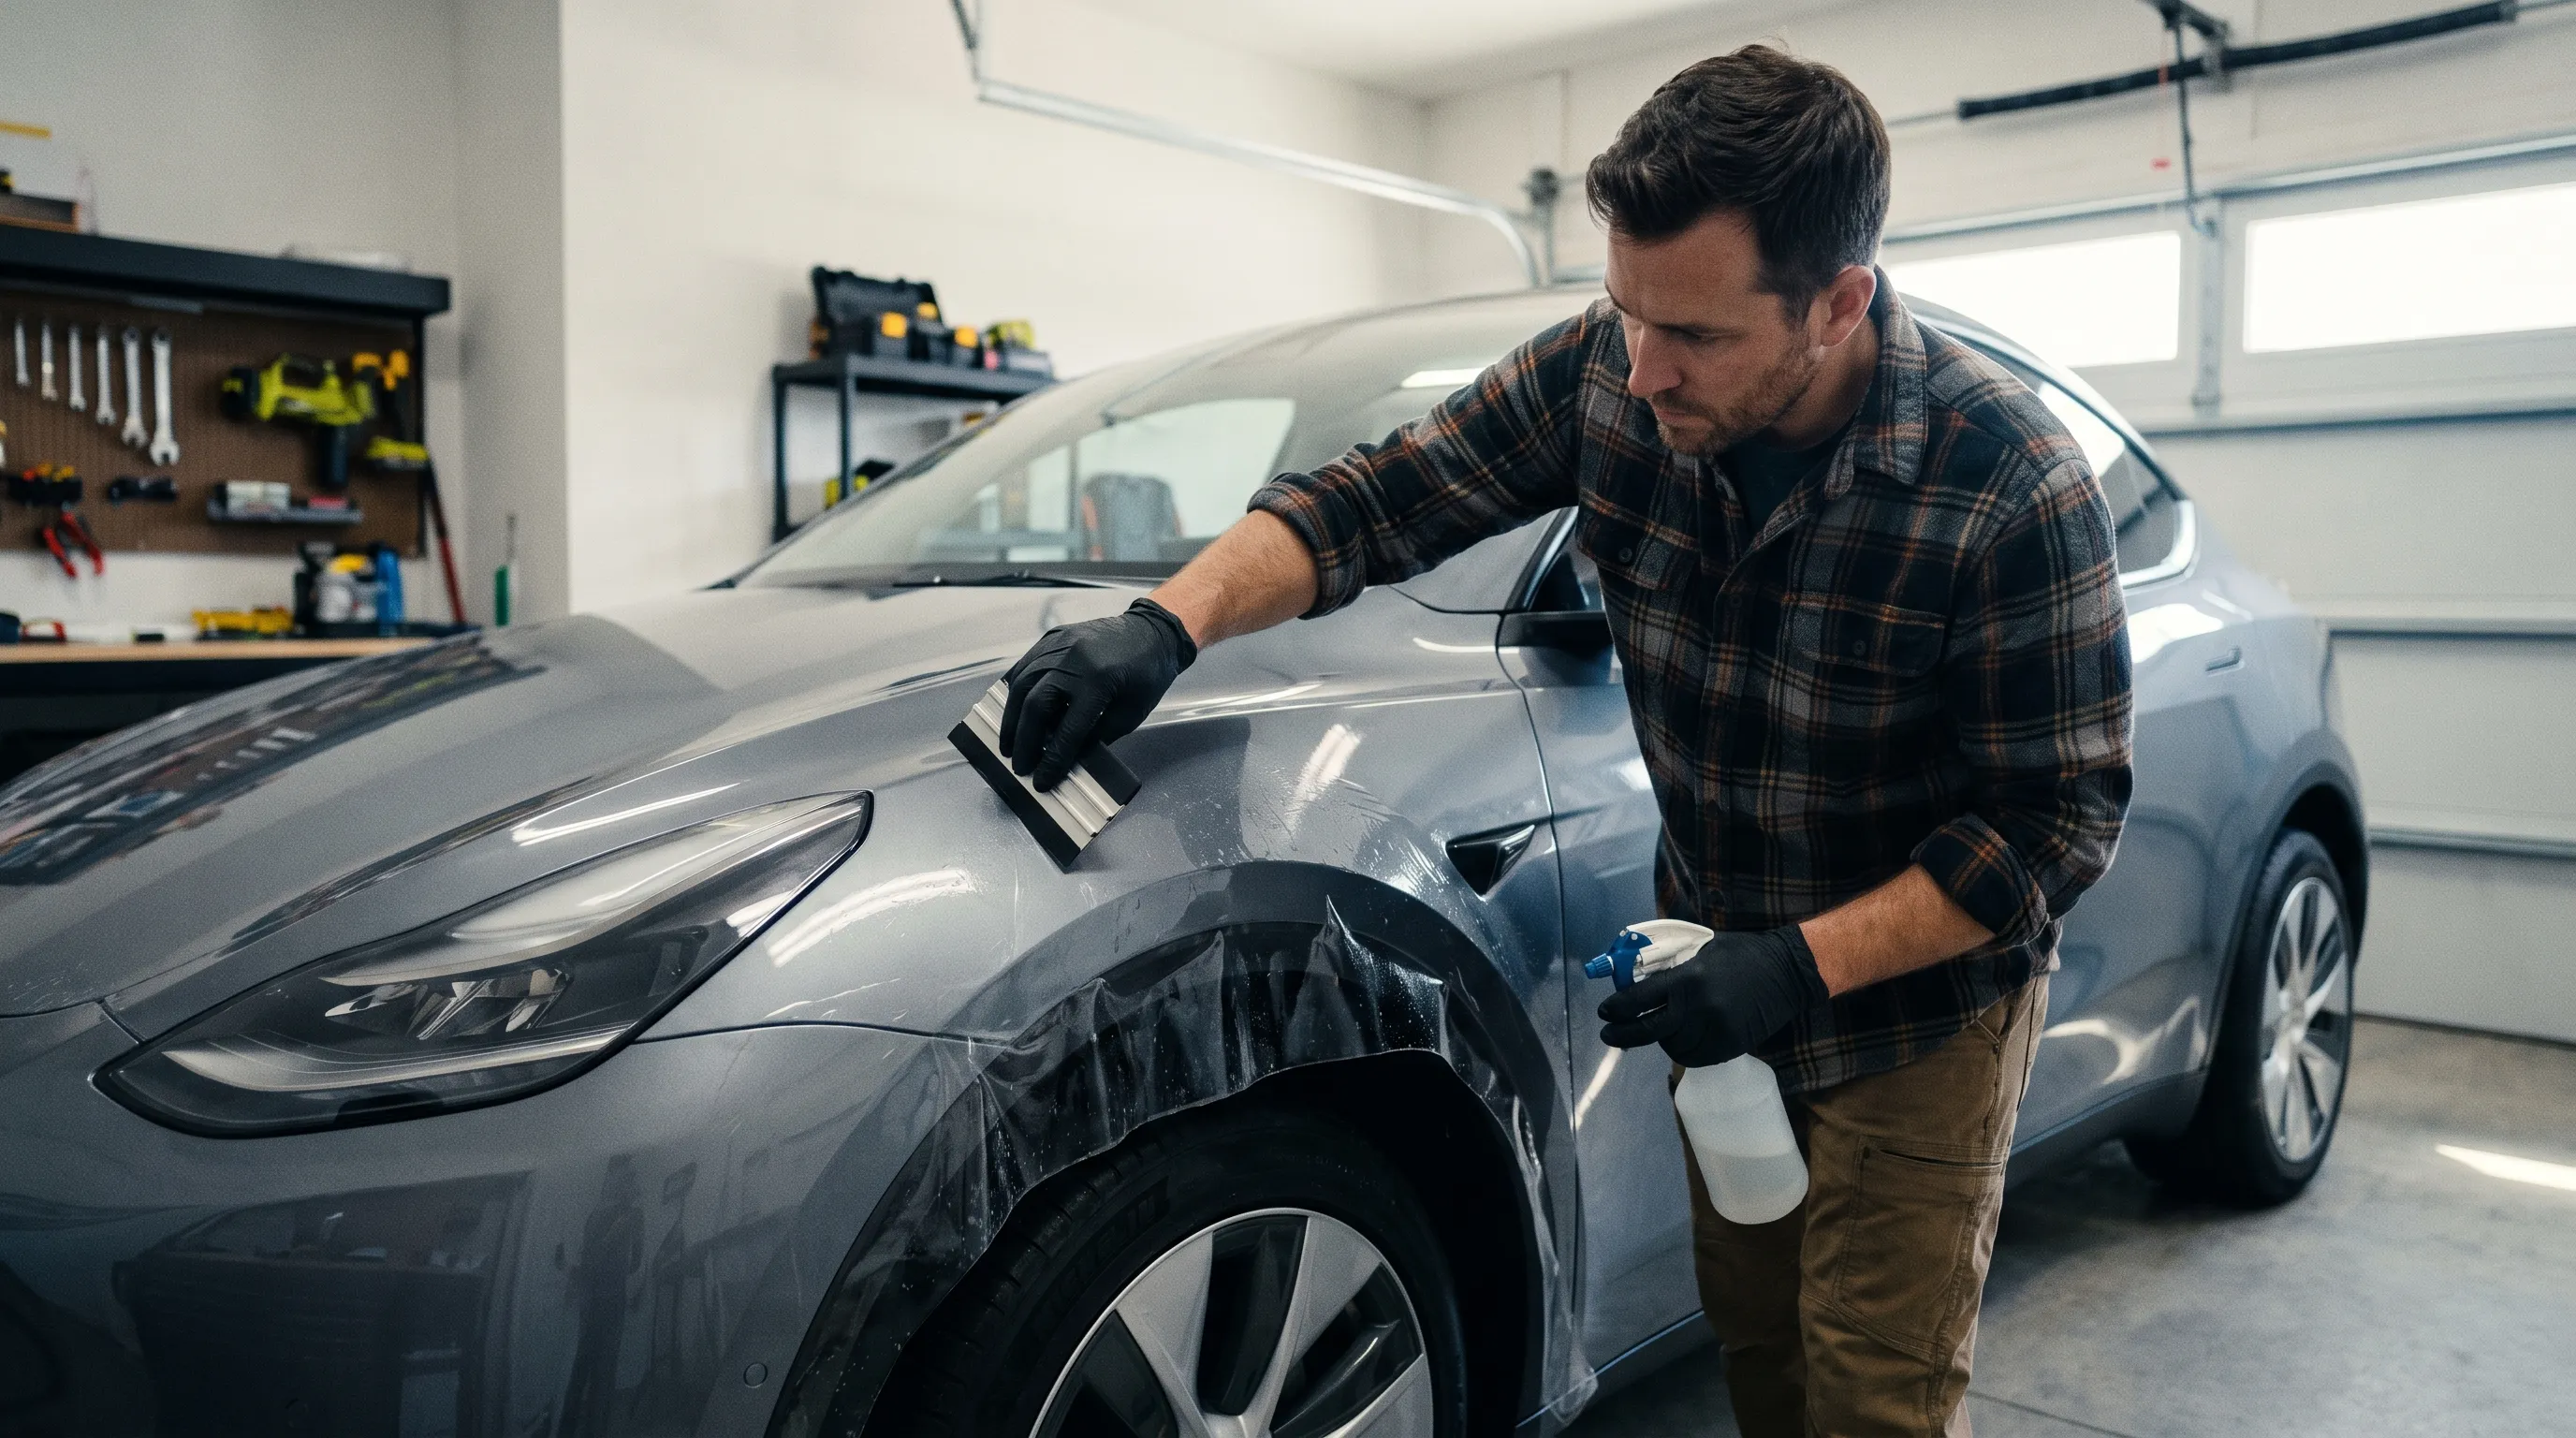
Tools and Conditions Required for DIY PPF
A clean residential garage can be suitable for small practice pieces. An open driveway is not. Wind introduces dust beneath the adhesive, sunlight heats panels unevenly, and changing temperatures alter film and adhesive behavior during installation.
A practical installation environment should be clean, enclosed, well lit, and maintained near 21–26°C or 70–79°F. The vehicle, film, water, and installation room should reach similar temperatures before work begins.
Basic equipment includes:
- Pre-cut PPF kit or correctly sized bulk film
- Clean pressurized spray bottles
- Measured slip and product-approved tack solutions
- Several PPF squeegees with undamaged edges
- Lint-free microfiber towels
- Automotive shampoo and chemical decontamination products
- Clay media with suitable lubricant
- Filtered or distilled water where required
- Steamer or carefully controlled heat source
- Infrared thermometer
- Non-marring edge tools
- Strong directional inspection lighting
A blade is not a substitute for a correct pattern. Cutting directly over automotive paint requires precise pressure control and introduces a clear risk of scoring the clearcoat.
Use a plotter-cut kit whenever possible. If additional trimming is unavoidable, lift the film away from the paint, use cutting tape, or apply another proven paint-protected method.
Crystal Shell Precision Install Tools provide the squeegees, edge tools, and controlled accessories required for professional film handling. Good tools reduce process variation, but they do not replace practice.
The Basic DIY Installation Process
Every product has its own application instructions. The following sequence describes the general logic of wet-applied PPF rather than a universal solution recipe.
- Wash the vehicle and remove tar, iron contamination, wax, polishing oils, and ceramic coating from the application area.
- Inspect the paint for chips, repaint work, failing clearcoat, and existing damage.
- Move the vehicle into a clean, enclosed, well-lit installation area.
- Clean panel gaps, badges, trim edges, and wrapped returns.
- Test the pattern before removing the release liner.
- Wet the panel, fingers, film surface, and exposed adhesive as required.
- Position the pattern without dragging dry adhesive across the paint.
- Create the first anchor points while keeping remaining sections mobile.
- Squeegee from controlled anchor zones toward open film edges.
- Overlap strokes by approximately 50% to reduce trapped air and fluid.
- Use only the stretch required to conform the film.
- Flush residual slip solution from edges before final anchoring.
- Inspect the panel from several angles under directional lighting.
- Allow the installation to cure before washing.
Keep the top surface wet while squeegeeing. A dry squeegee can drag across the top coat and leave marks before the installation is complete.
Do not anchor every edge first and then attempt to remove fluid from the middle. Once adhesive surrounds a pocket, the remaining water or air has no clean exit route.
Reposition early. Lifting an area after strong squeegee pressure has been applied can disturb the adhesive and leave a visible line, particularly over black or dark metallic paint.
Common DIY PPF Installation Failures
Contamination is the most visible home-installation problem. One hair or hard dust particle creates a raised point that cannot be pushed through the film.
Residential garages contain dust from cardboard, clothing, concrete, ventilation systems, towels, and nearby storage. Cleaning the panel without cleaning the room solves only half the contamination problem.
Other common failures include:
- Misaligned pre-cut patterns
- Fingerprints or dry contact on the adhesive
- Excessive soap that prevents final edge adhesion
- Excessive tack solution that anchors the film too early
- Trapped water sealed behind anchored sections
- Glue lines caused by late repositioning
- Top-coat distortion from overstretching
- Short edges that cannot reach a stable termination
- Film stretched into recesses without tension relief
- Clearcoat cuts from on-vehicle trimming
Heat is frequently misused. A steamer or heat gun can improve conformability, but excessive temperature does not erase poor stretch planning. It may soften the film temporarily while leaving stored tension that pulls the edge back later.
Small installation-fluid marks may clear during curing. Dust, fibres, deep adhesive lines, incorrect seams, and cut paint do not disappear because the vehicle sits overnight.
The difference between moisture and a permanent defect is explained in the PPF bubble-removal guide.
How Much Money Does DIY Actually Save?
The apparent saving is professional labour. The actual calculation must include the kit, shipping, cleaning chemicals, tools, workspace preparation, practice material, and the probability of replacing a failed pattern.
A failed door cup costs little. A failed bumper or full hood can consume a second complete pattern, several additional hours, and another preparation cycle.
DIY economics become particularly weak when:
- The pattern is expensive or custom cut.
- The customer has no reusable installation tools.
- A second person is required to handle the panel.
- The vehicle uses complex paint or expensive trim.
- A visible defect will be unacceptable.
- A blade mistake could require paint repair.
In shop observation, a beginner can spend two to four hours on a simple panel that an experienced installer completes much faster. A complicated full-front project may consume an entire weekend and still require professional correction.
Removing a failed film does not reset the project completely. The panel must be cleaned again, adhesive residue removed, and any lifted or contaminated sections investigated before a second attempt.
DIY makes sense as education or for small low-risk applications. It is rarely the lowest-risk route for a new luxury vehicle, full bumper, complete hood, matte finish, or full-front package.
When to Use a Professional Installer
Use a professional when the cost of a visible defect, damaged paint, or failed pattern exceeds the value of learning the process yourself.
Professional installation is the stronger choice for:
- Full-front and full-body coverage
- Complex bumpers and mirror housings
- Factory matte or satin paint
- Color PPF installations
- Carbon-fiber or specialty substrates
- Repainted panels
- High-value, new, leased, or collector vehicles
- Customers expecting nearly invisible edges and seams
A professional studio also controls factors that are difficult to reproduce at home: filtered installation space, plotter patterns, panel-specific stretch planning, edge preparation, inspection lighting, replacement material, and documented post-installation support.
Crystal Premium Clear Bra is engineered for predictable positioning, controlled stretch, moisture evacuation, and stable final adhesion. That wider working window improves installation efficiency, but it does not turn a complex bumper into a beginner project.
The same applies to Crystal Satin Stealth and Crystal Color Infused PPF. Matte and colored films require consistent stretch because uneven elongation may alter sheen, color density, or metallic orientation.
Professional Crystal Shell Installation in Toronto and Vancouver
Drivers in Toronto who want a controlled professional result can book through Crystal Shell Studio. The Toronto facility provides professional PPF installation, panel preparation, pattern planning, finishing, and post-installation support.
This is the recommended route for full-front packages, complete vehicles, complex bumpers, satin conversions, and color PPF projects where a failed DIY attempt would waste both material and time.
Customers in Vancouver can work through Crystal Shell’s partner network. Use the Crystal Shell dealer page or contact Crystal Shell to be connected with an appropriate Vancouver-area installation partner.
A partner installation keeps the product, process, and technical support aligned. It also gives the customer a professional point of contact for inspection, maintenance guidance, edge correction, and future panel replacement.
Before selecting any installer, ask to see:
- Completed vehicles under direct inspection lighting
- Examples of wrapped and exposed edges
- Experience with your vehicle model
- The exact film model and warranty terms
- How contamination or installation defects are corrected
- Post-installation washing and inspection instructions
Do not evaluate an installation only from photographs taken several metres away. Inspect the film near sensors, corners, badges, panel gaps, mirrors, and high-stretch areas.
Conclusion: Practise Small or Protect the Car Professionally
DIY PPF installation is technically possible, but the reasonable starting point is a small, replaceable, low-complexity section. Use a pre-cut pattern, controlled environment, correct tools, and enough spare film to practise before working on a visible panel.
A complete hood, bumper, full front, matte vehicle, or color conversion should not be treated as a casual weekend project. Film cost is only one part of the risk; contamination, damaged clearcoat, and a second installation can cost considerably more.
For professional installation in Toronto, visit Crystal Shell Studio. Vancouver customers can contact Crystal Shell to locate a trained partner and select the correct coverage for their vehicle.